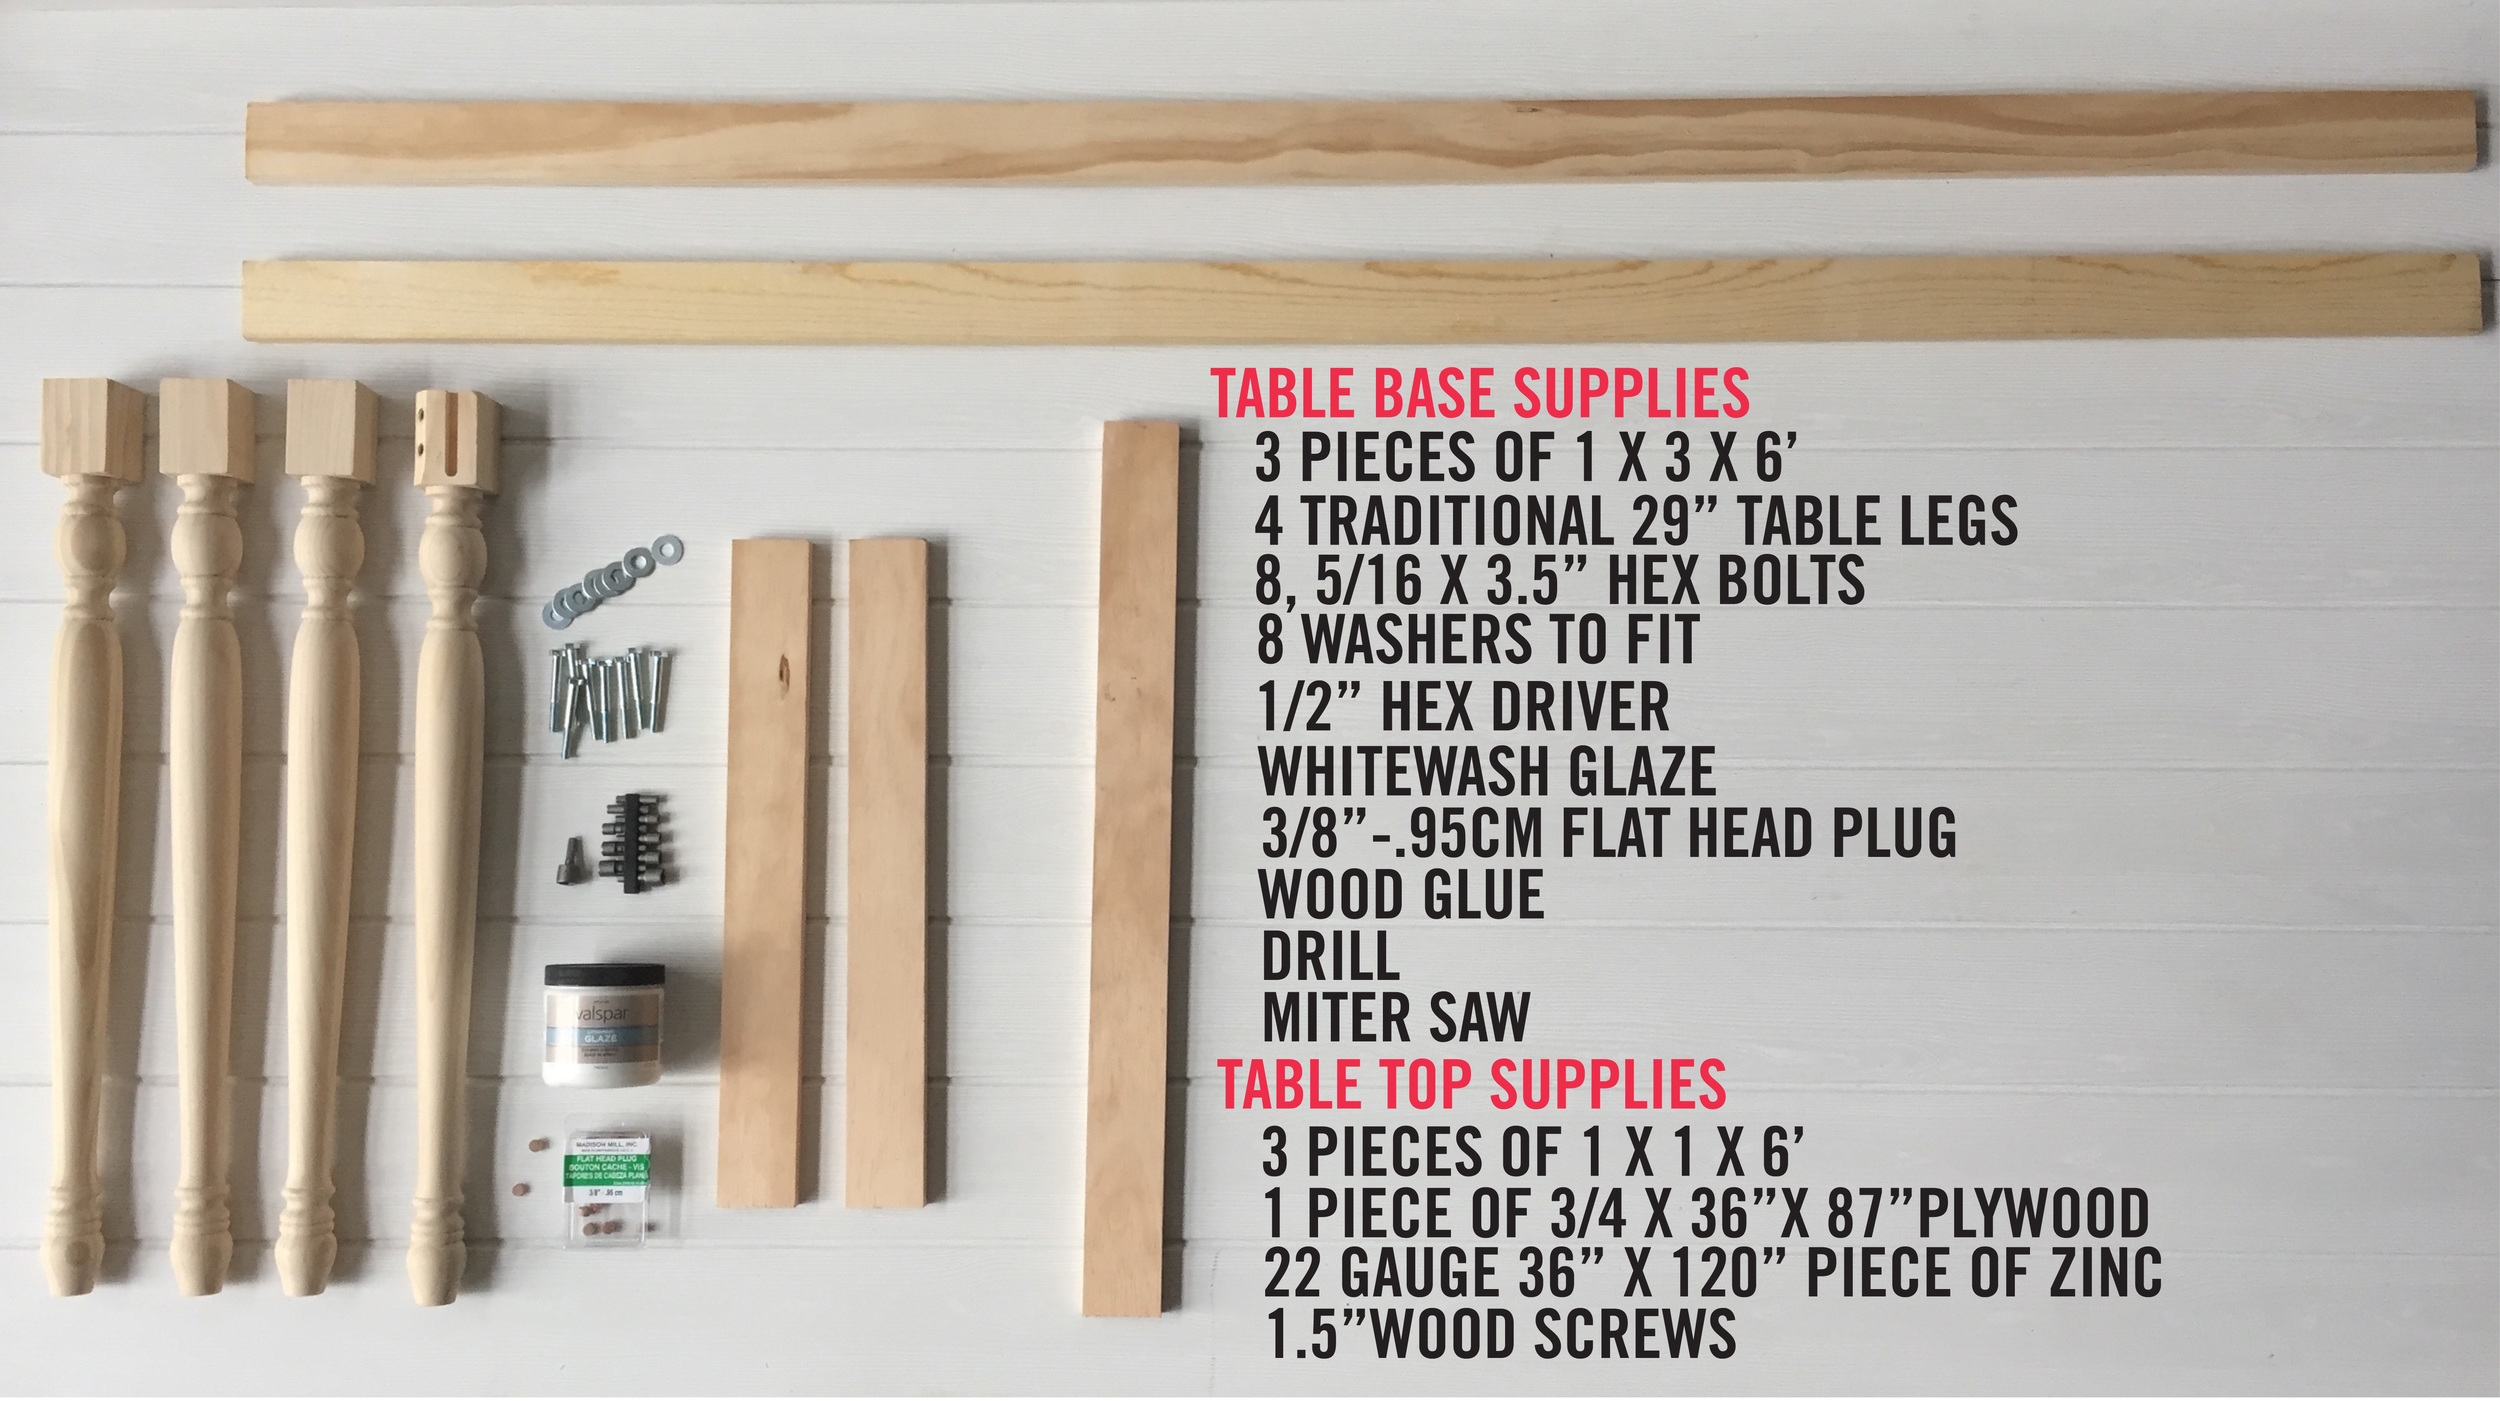
after making your purchases from the supplies// shop list pictured below, (i purchased everything at Lowe's with the exception of the zinc top, which i had shipped from Rotometals.com) you are ready to start making your cuts.
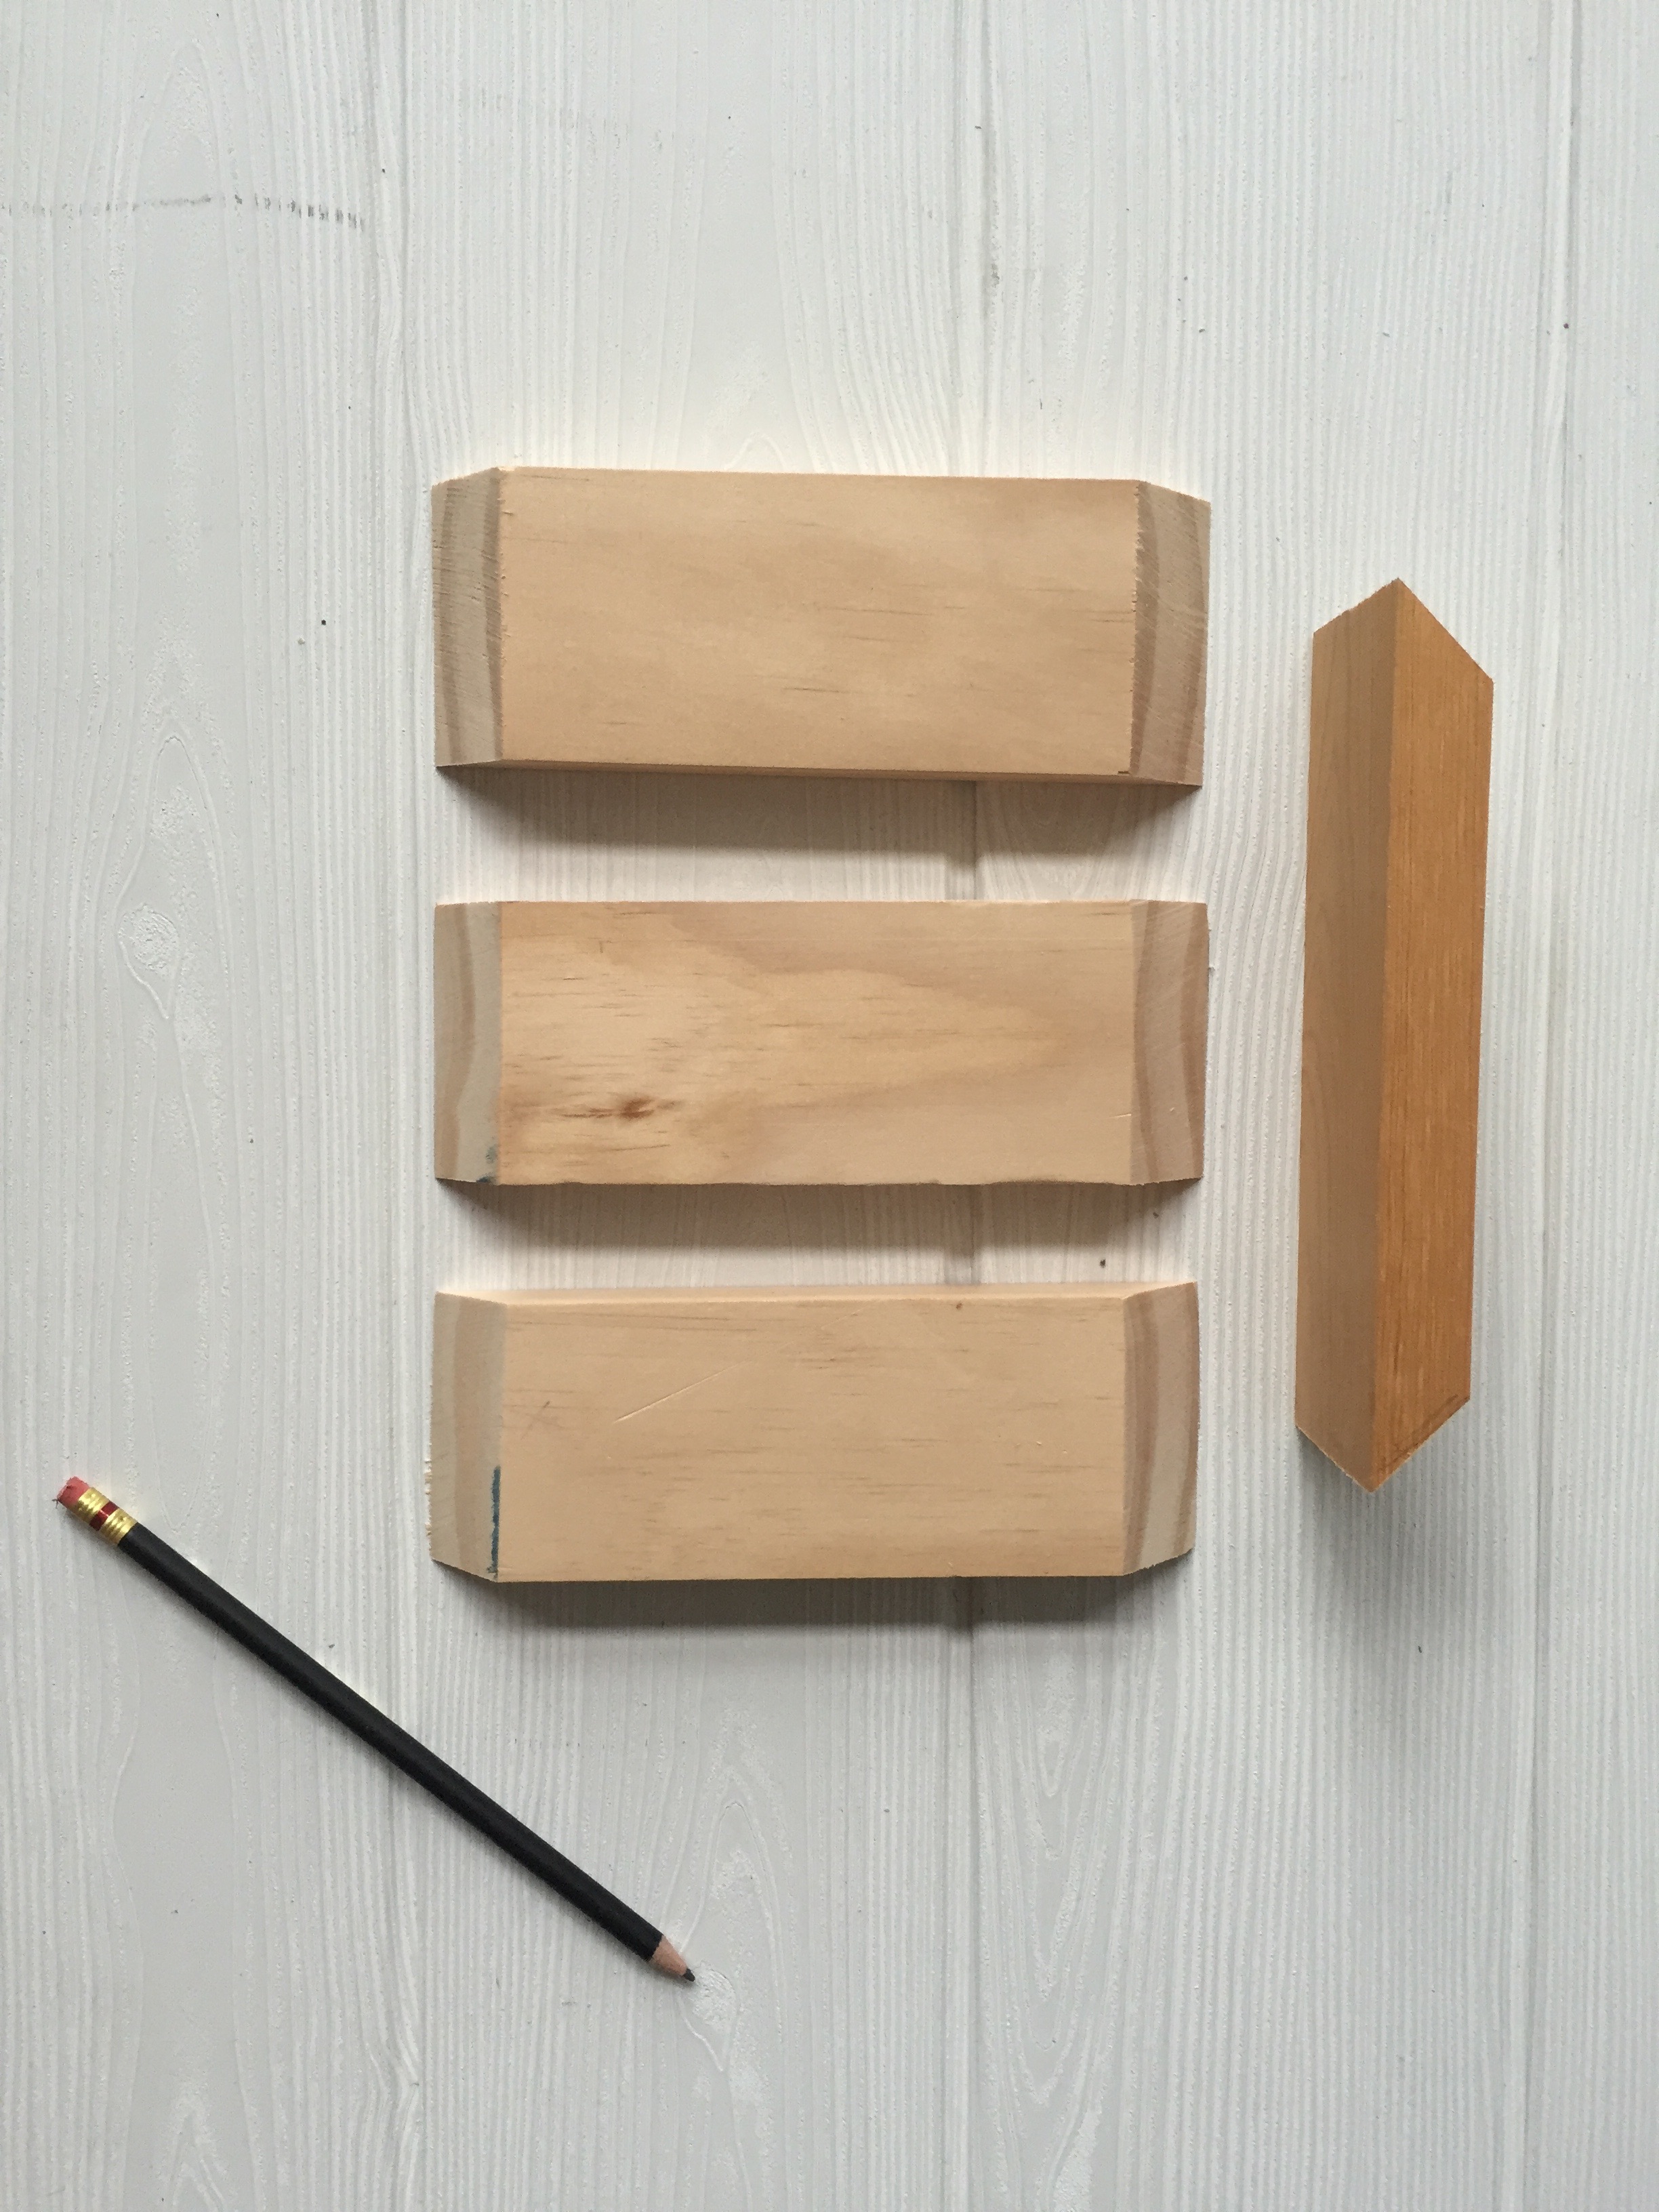
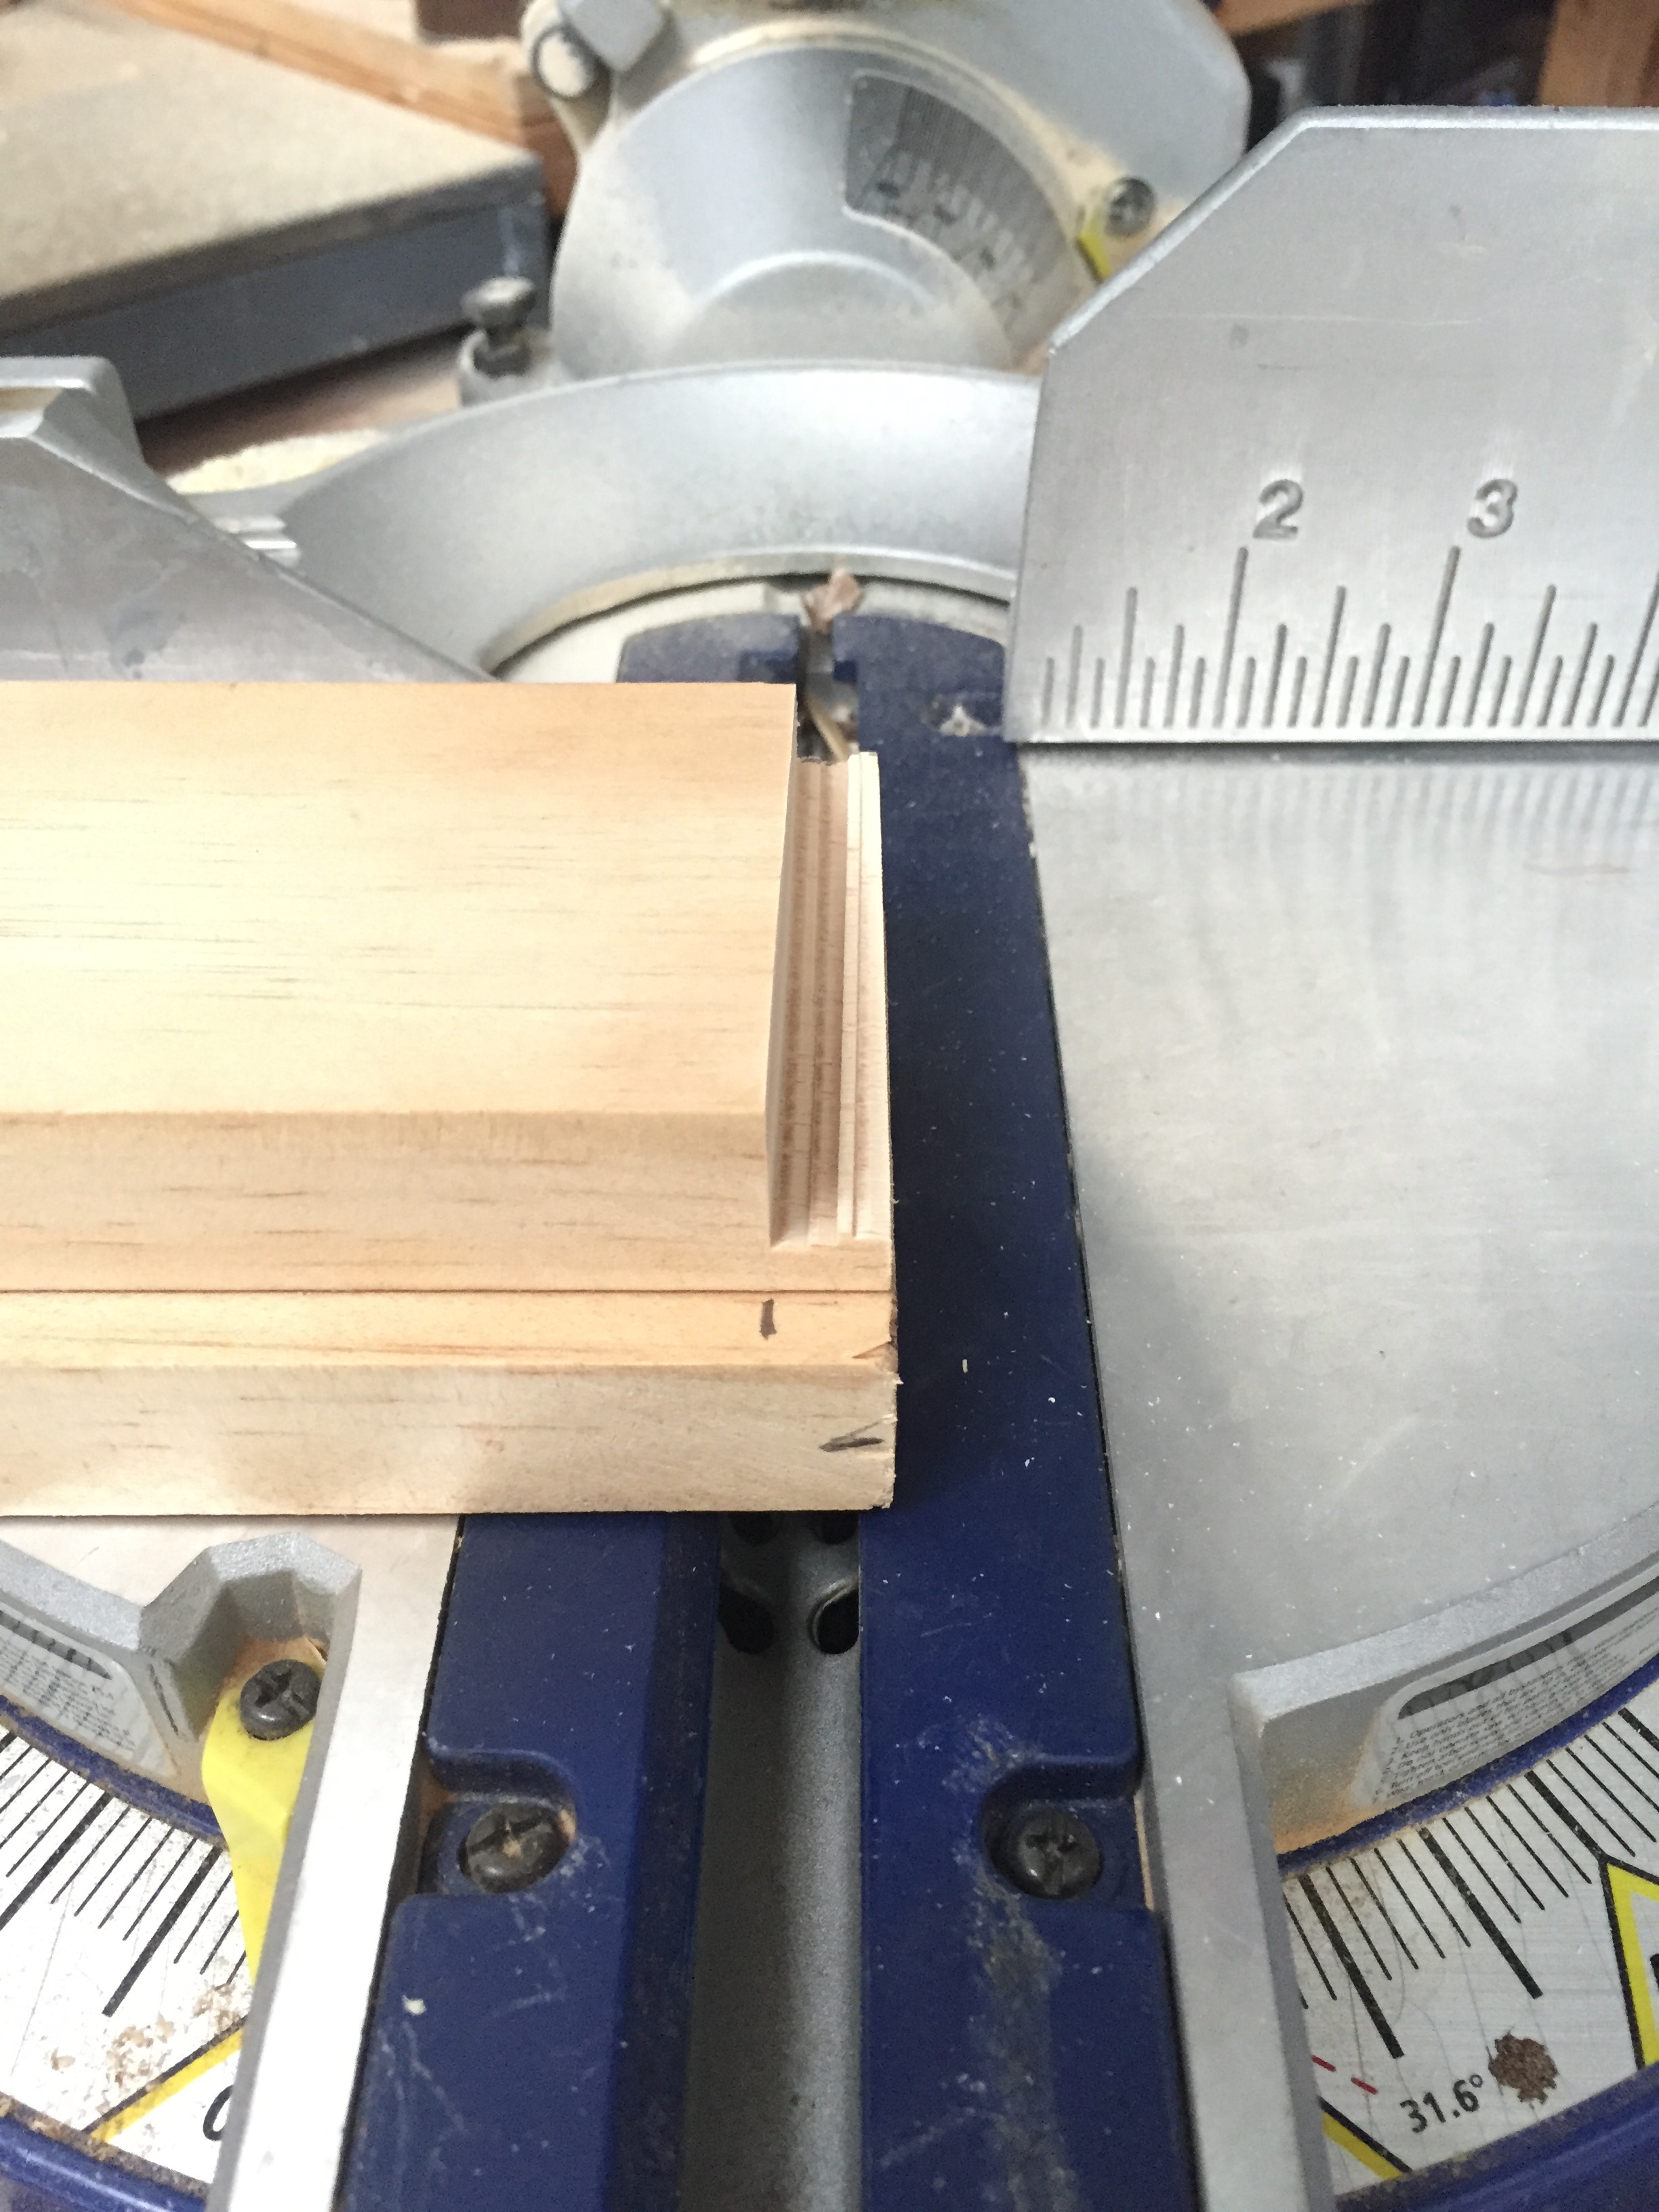
FIRST : measure and cut one of the pieces of 1 x 3 x 6' board into two 22" pieces and the remaining 28" of board, miter into 4 equally sized corner pieces. (approx 7" each)
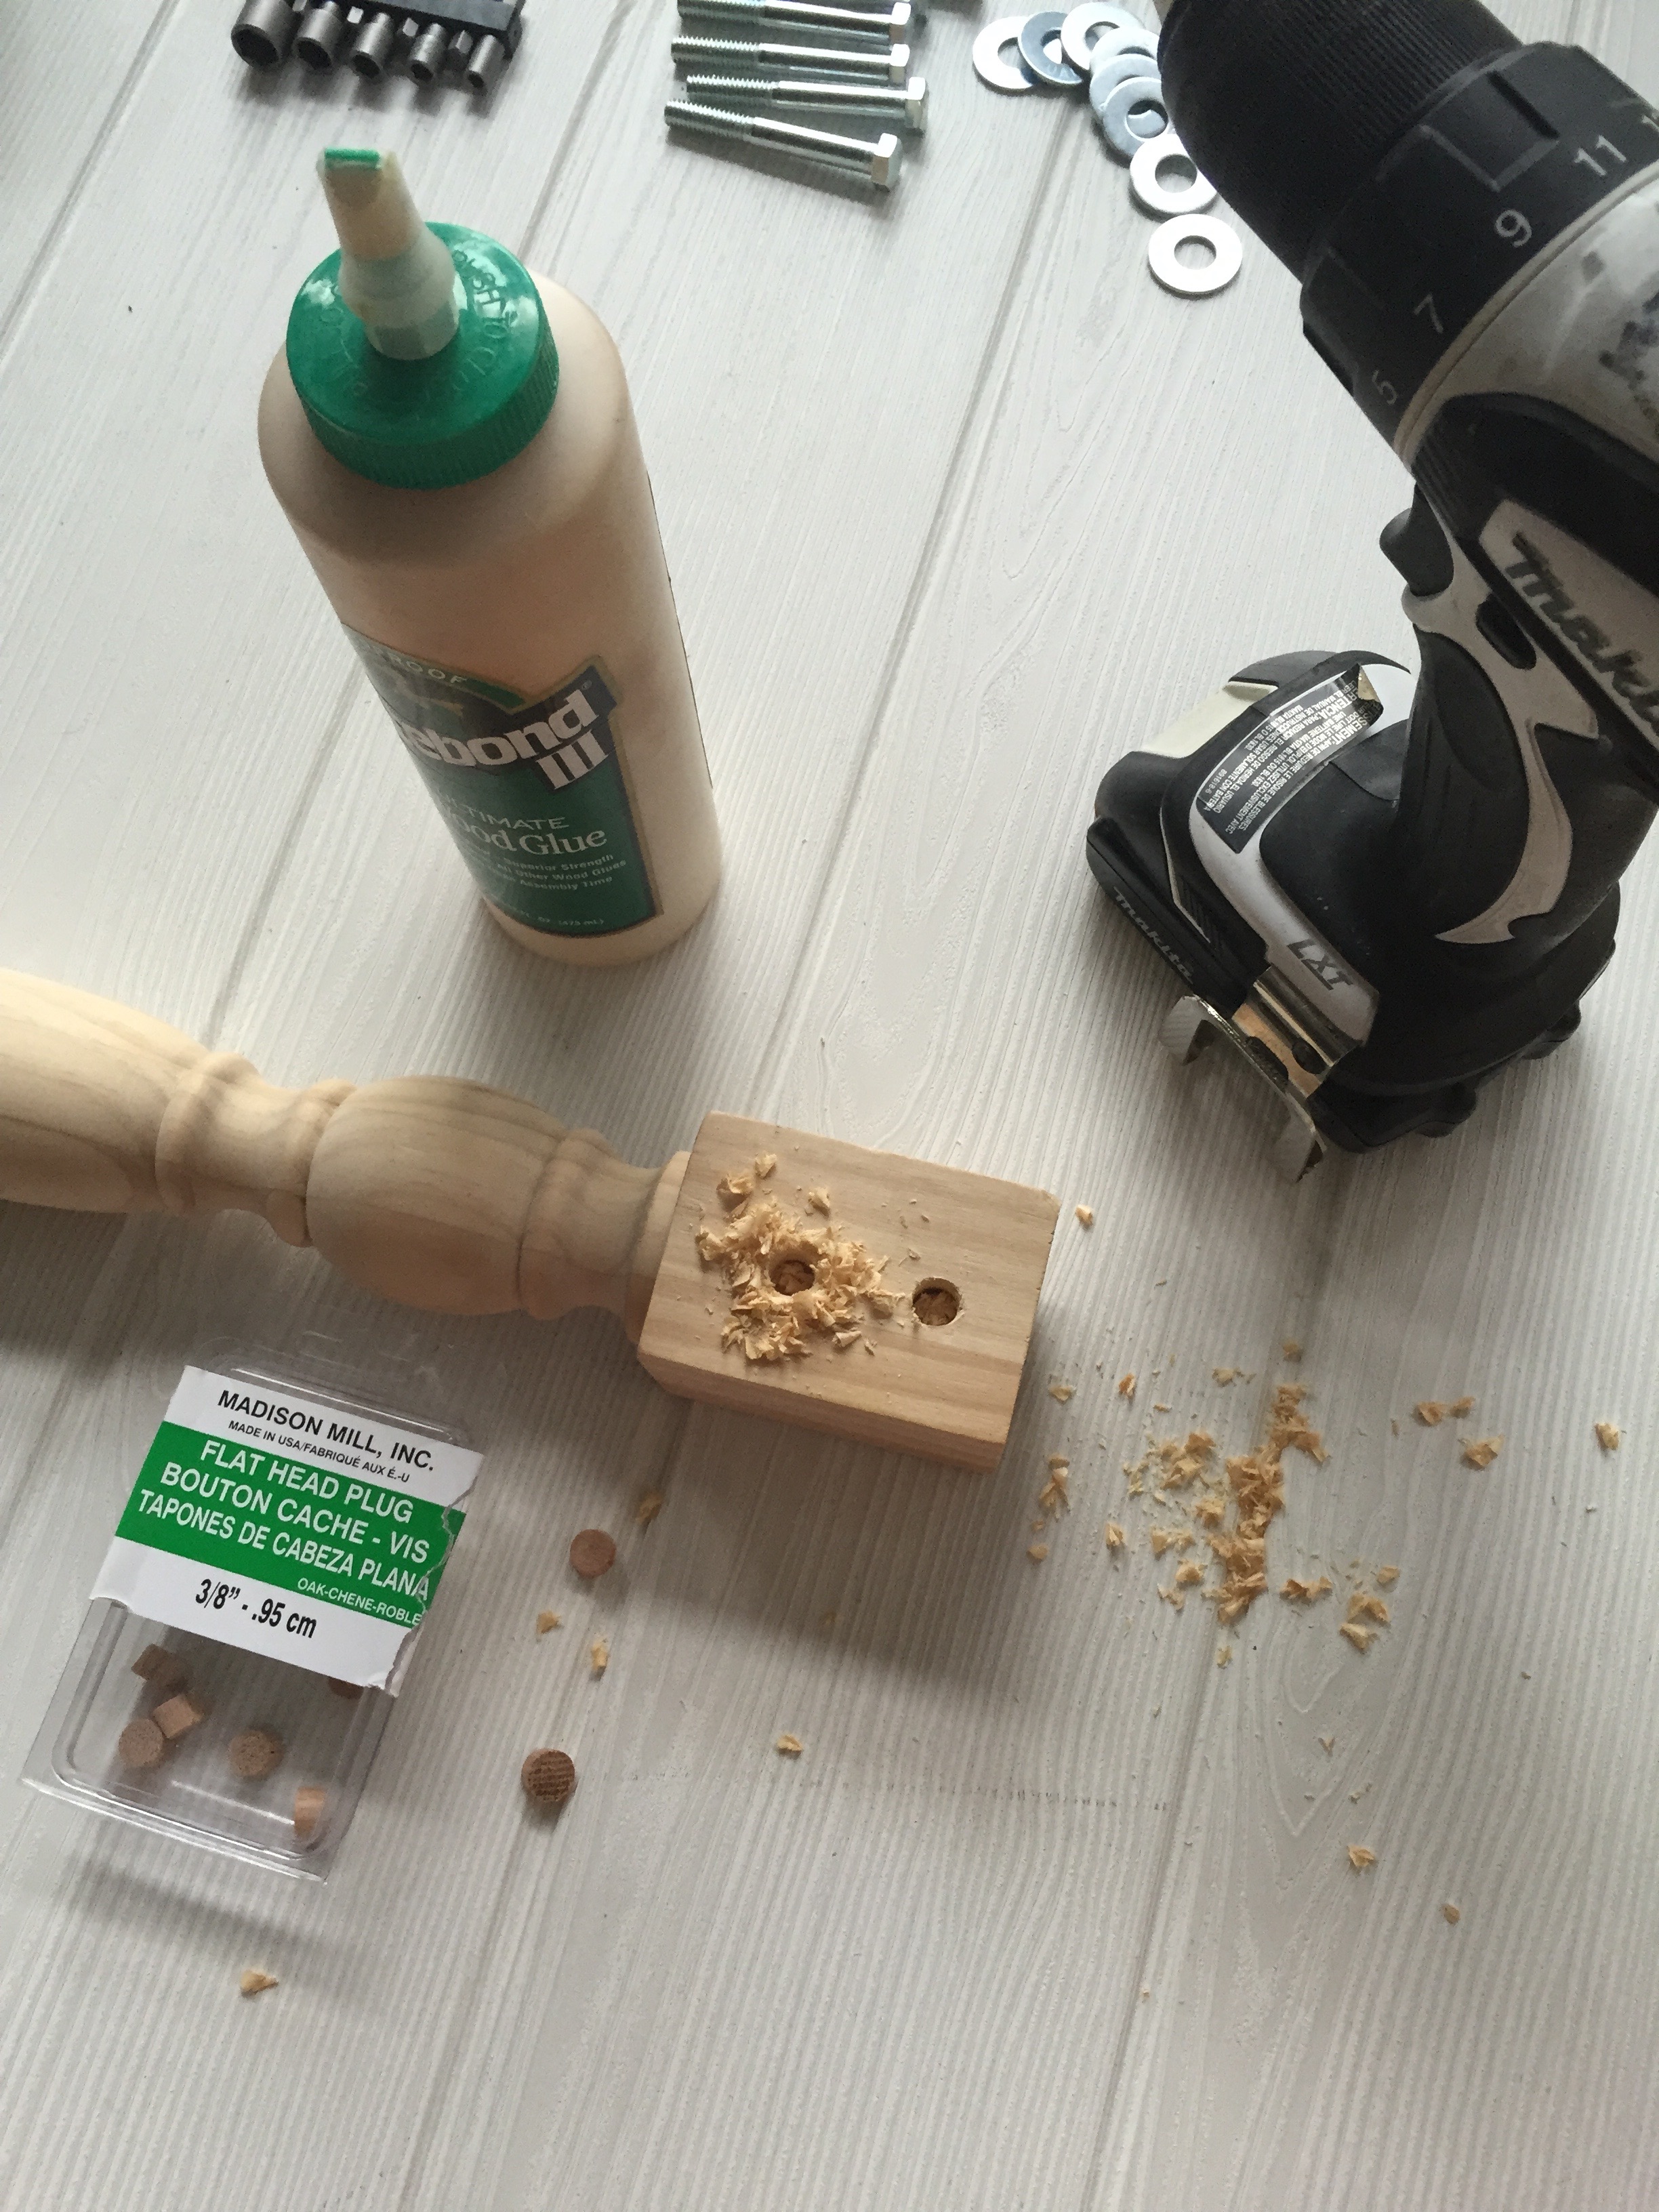
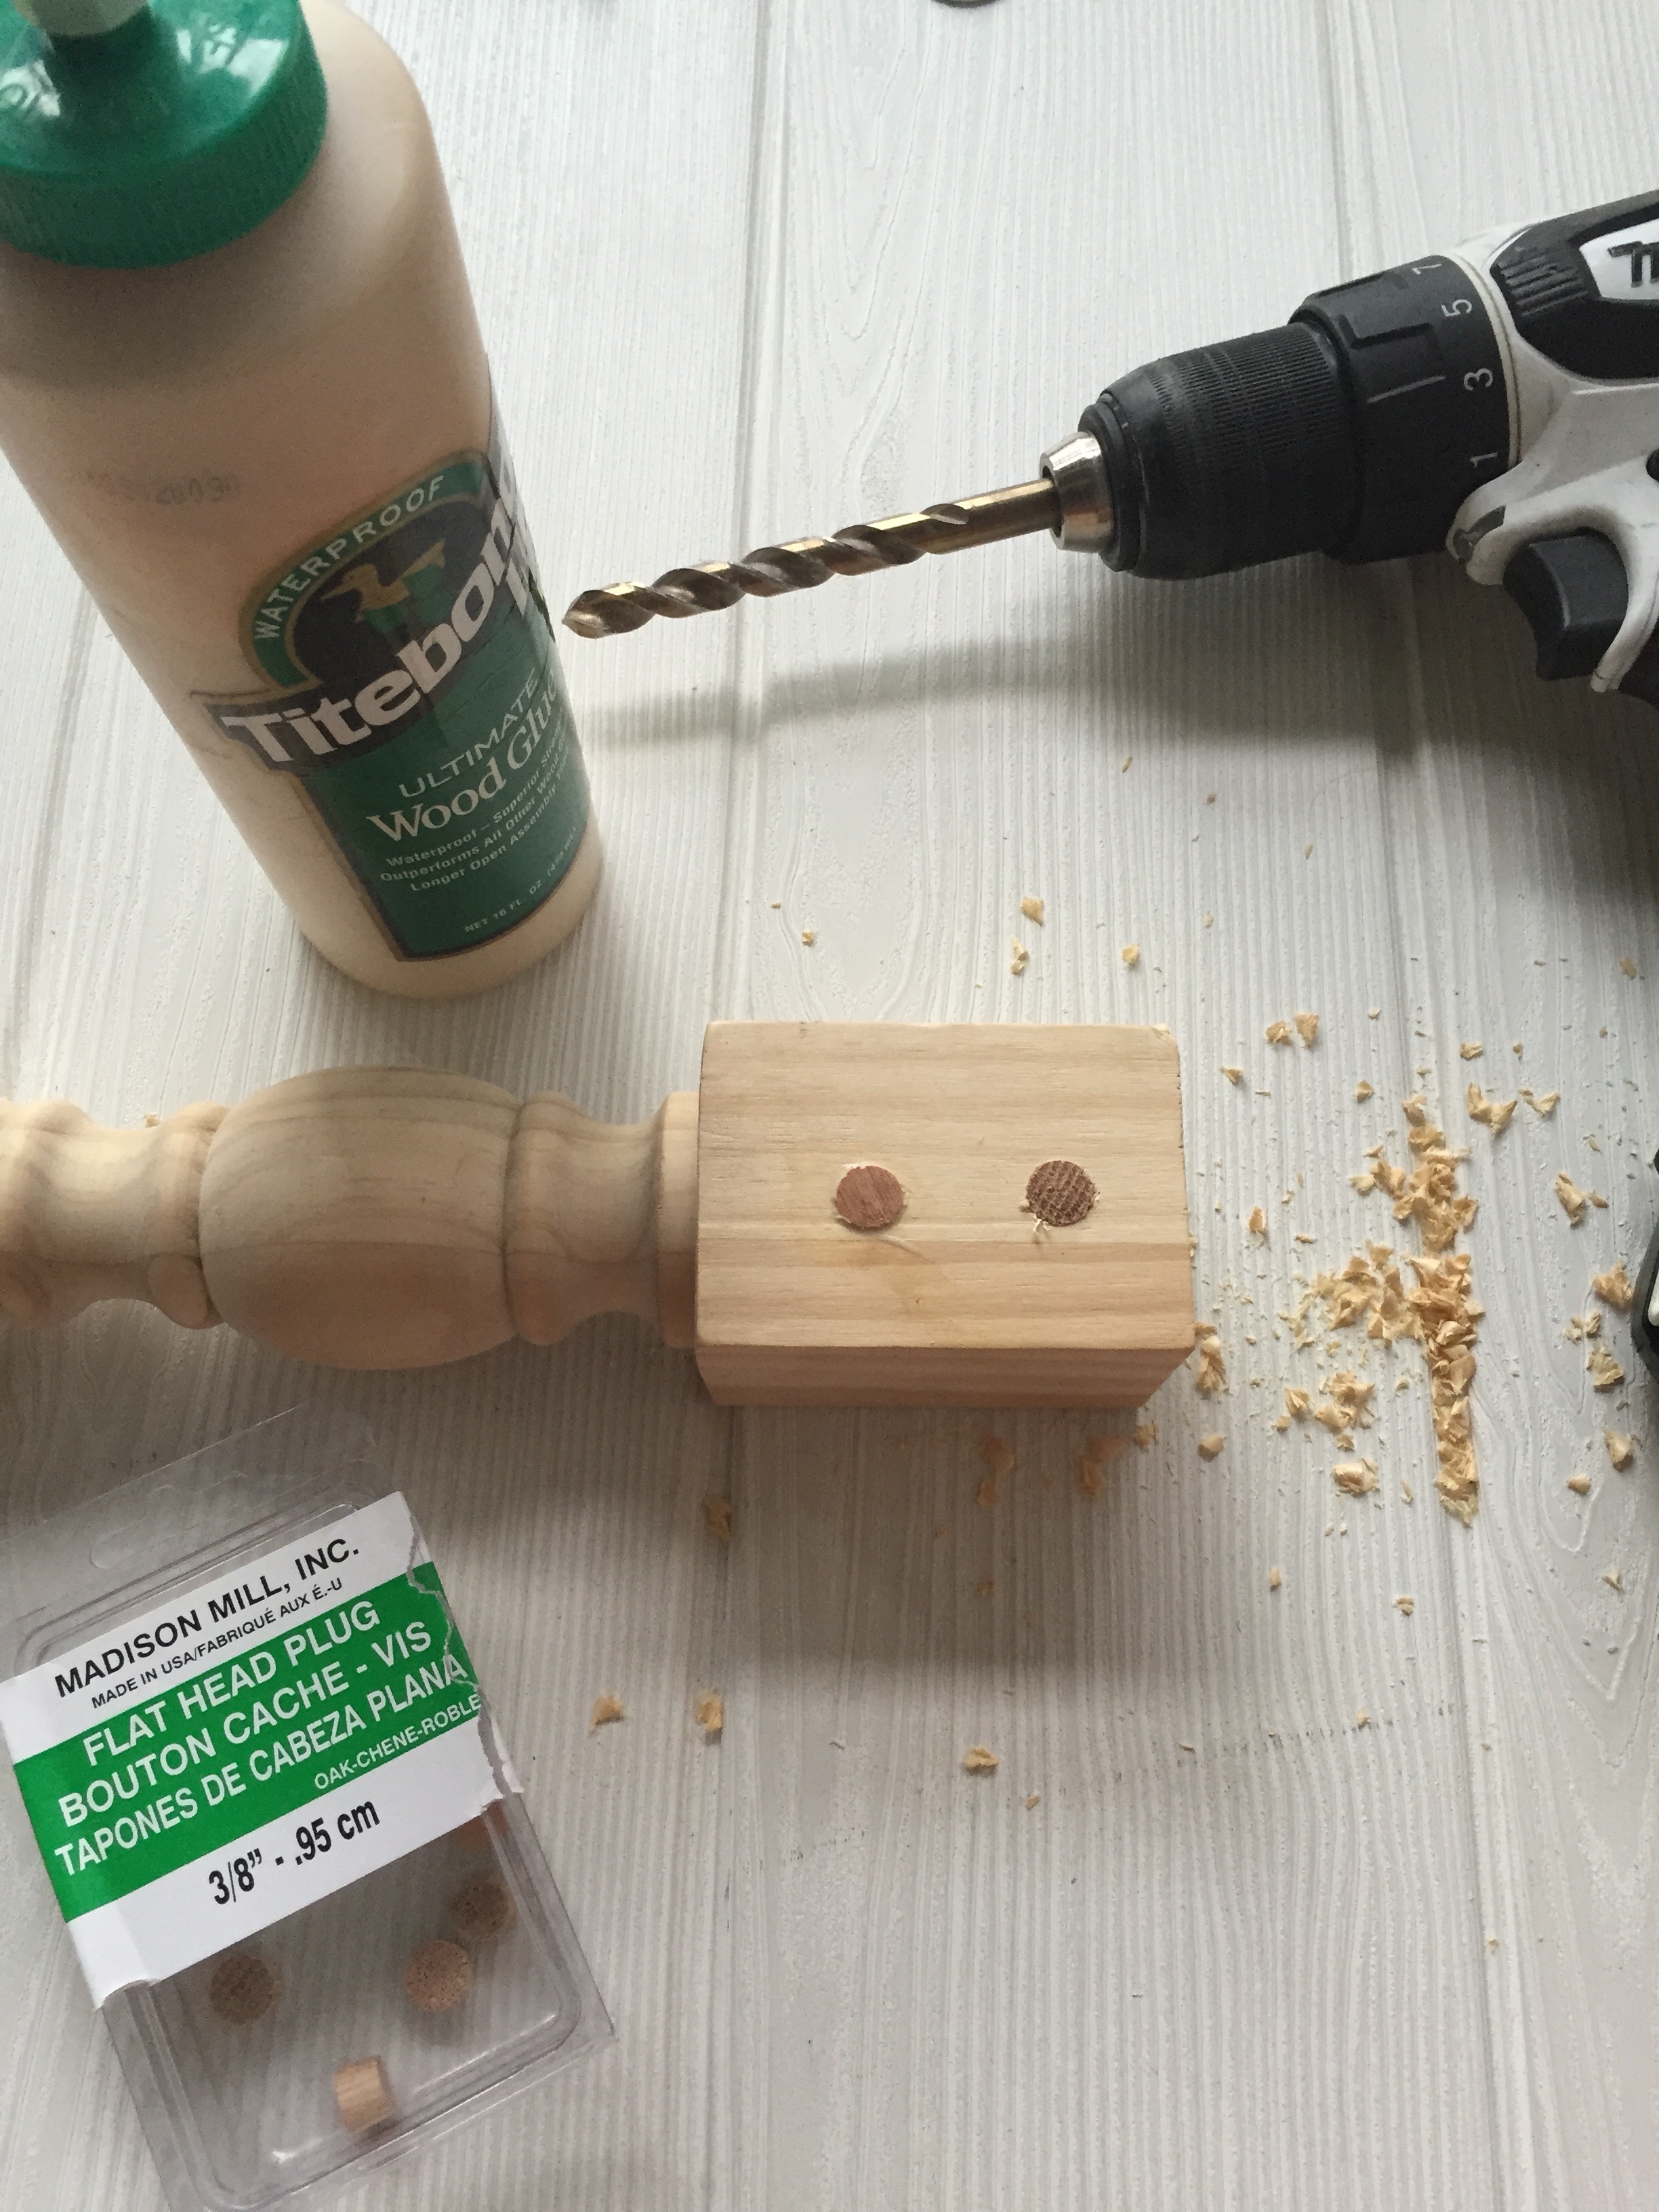
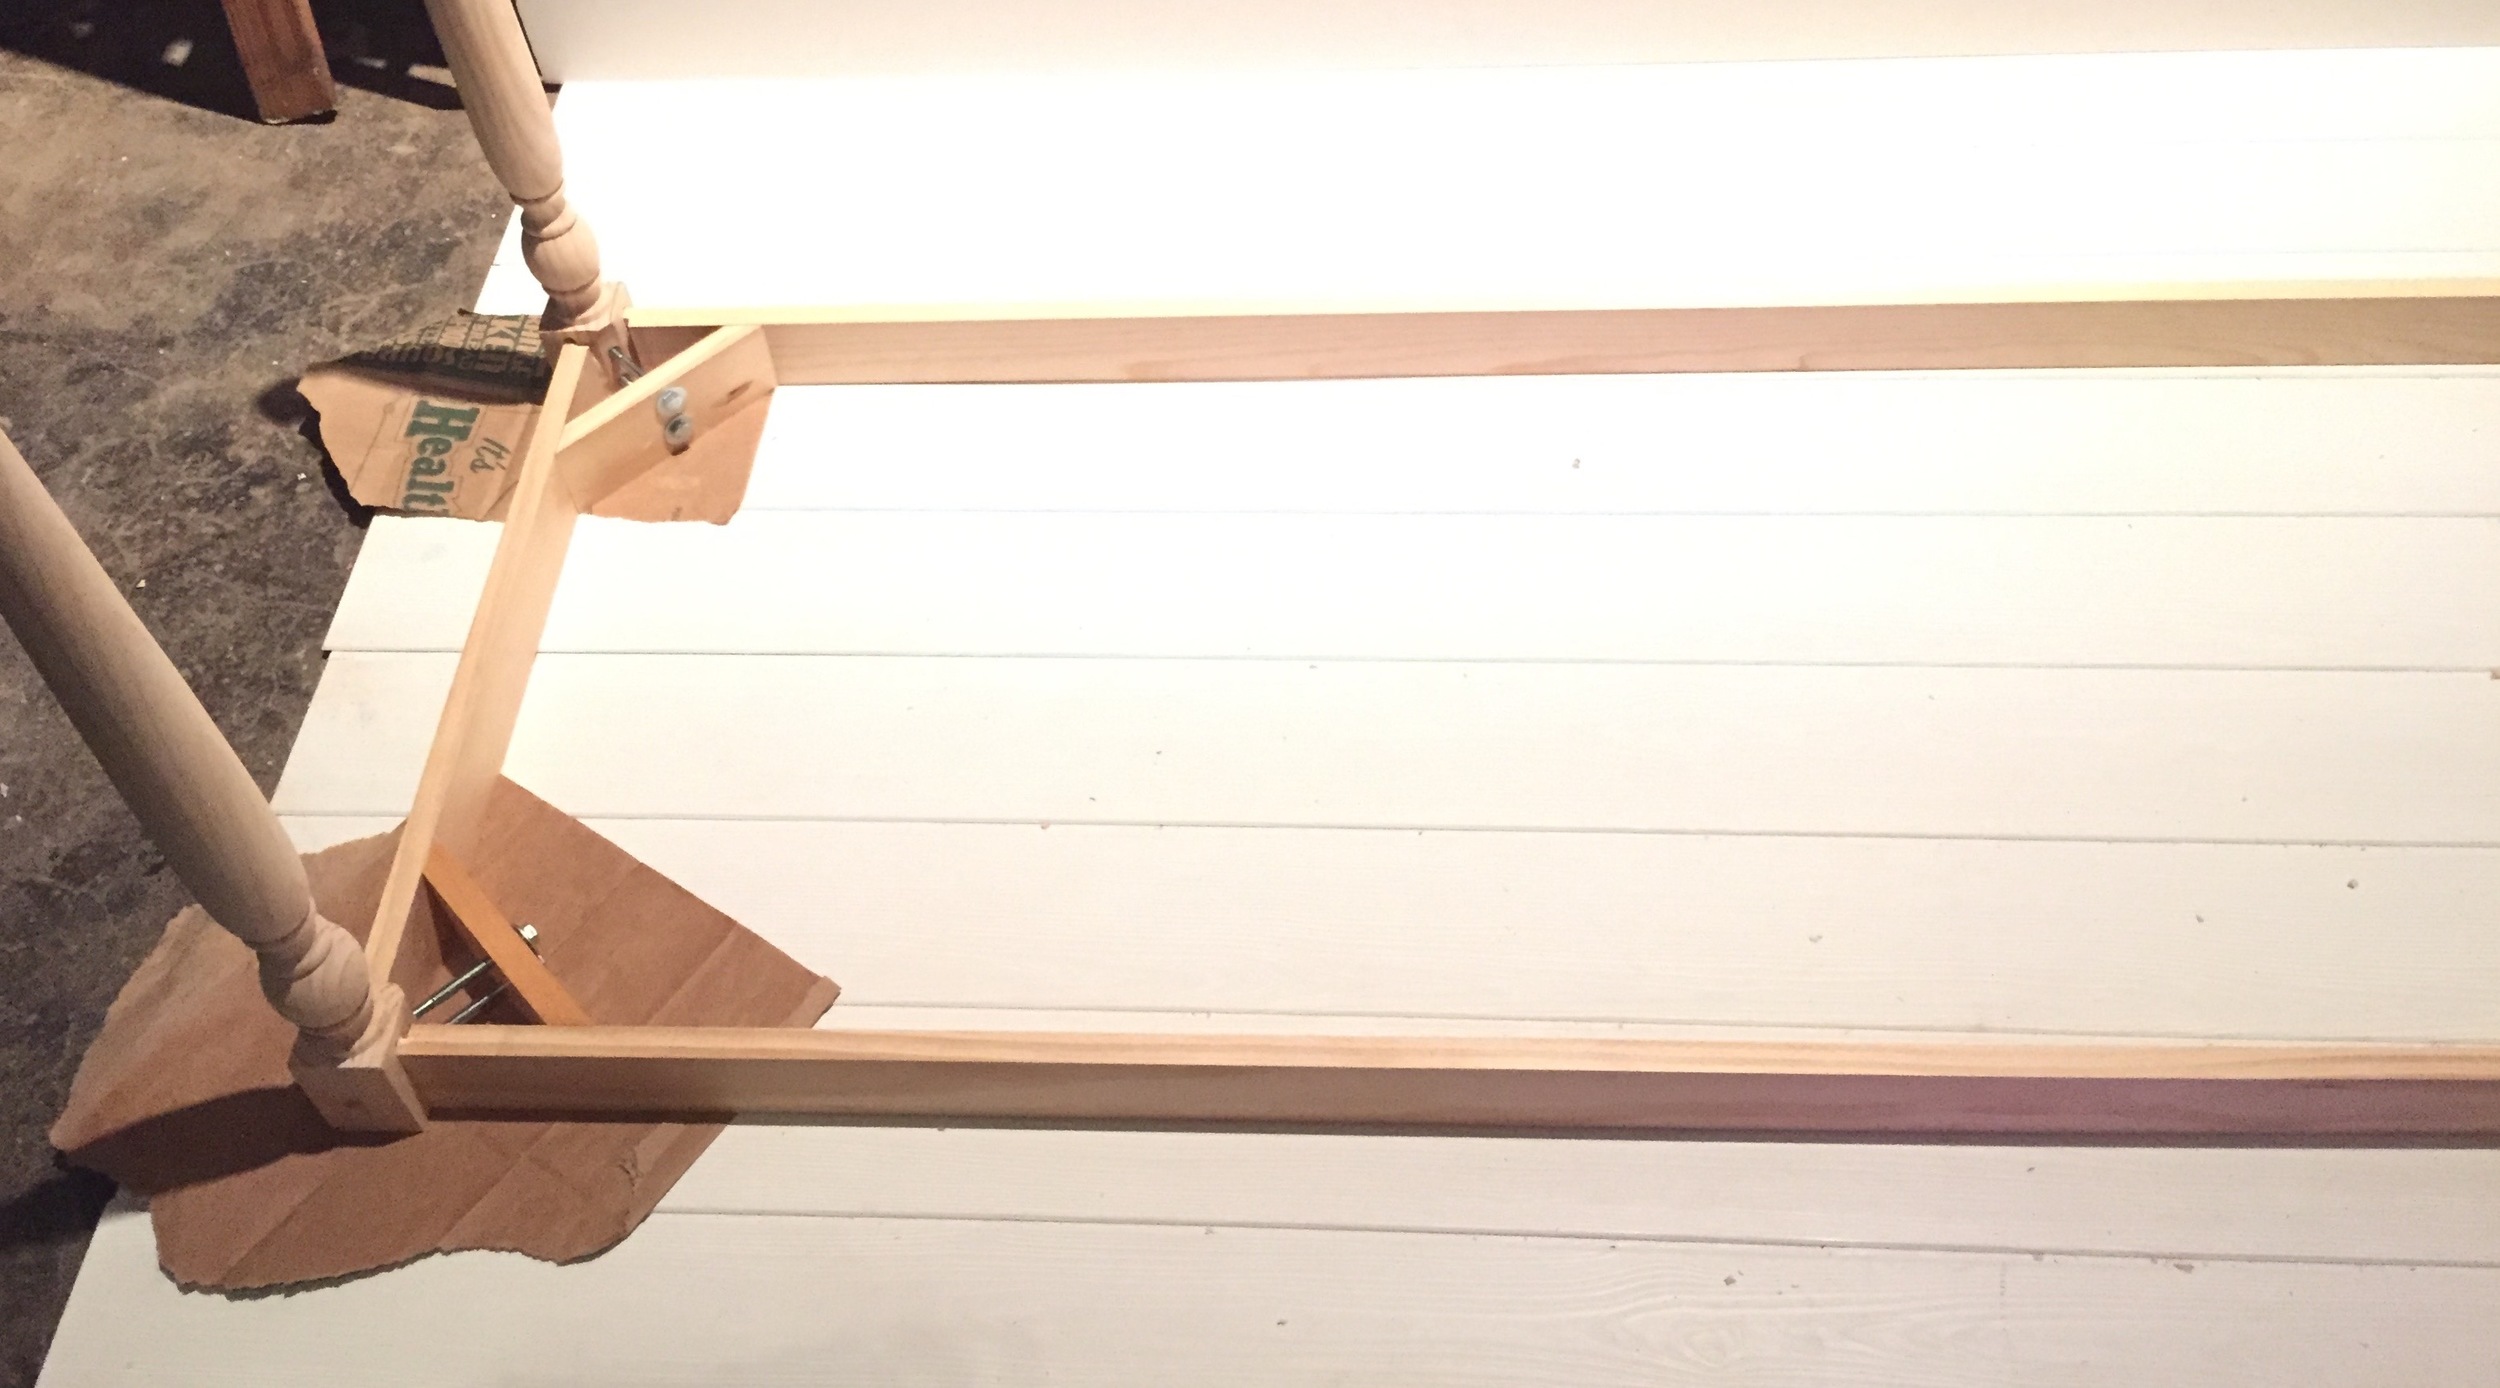
SECOND: notch out 3/8" inch on the ends of the two pieces of 1 x 3 x 6' and the two 22" pieces. this is what will slide into the grove on the tops of the table legs. add a handmade element to the tops of the table legs, by drilling a couple of holes and filling it with wood glue and the flat head plugs.
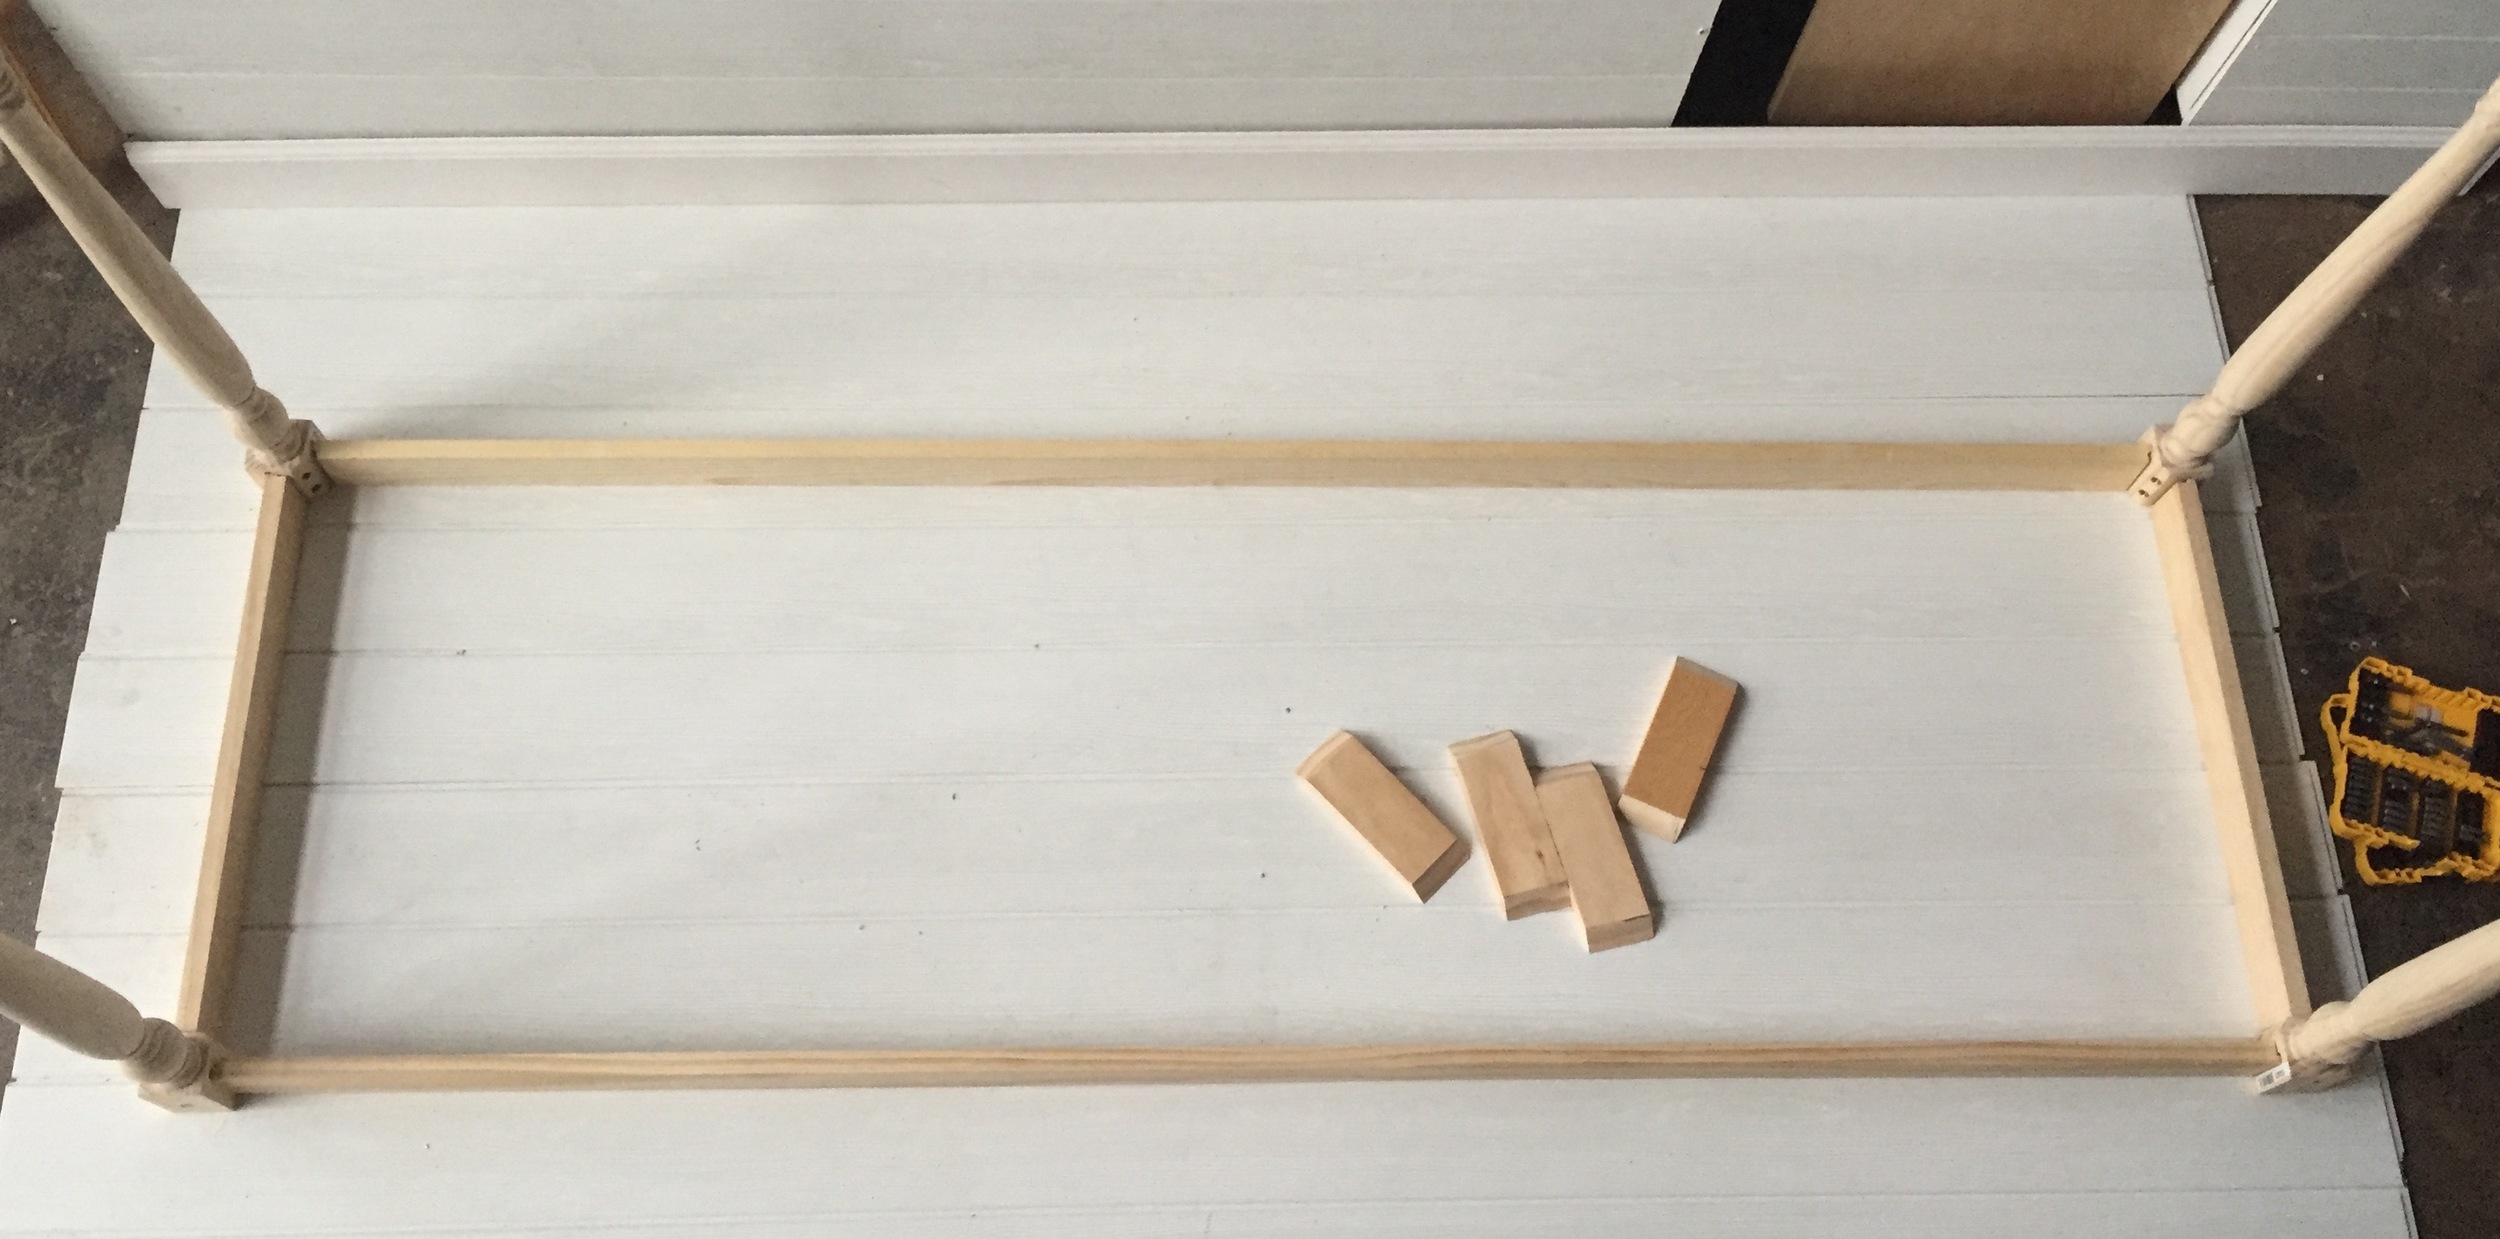
THIRD: now you are ready to dry fit your table base together, and once you are happy with it, apply the wood glue to the groves and let dry. (don't forget to place something beneath the joint in case the wood glue runs)
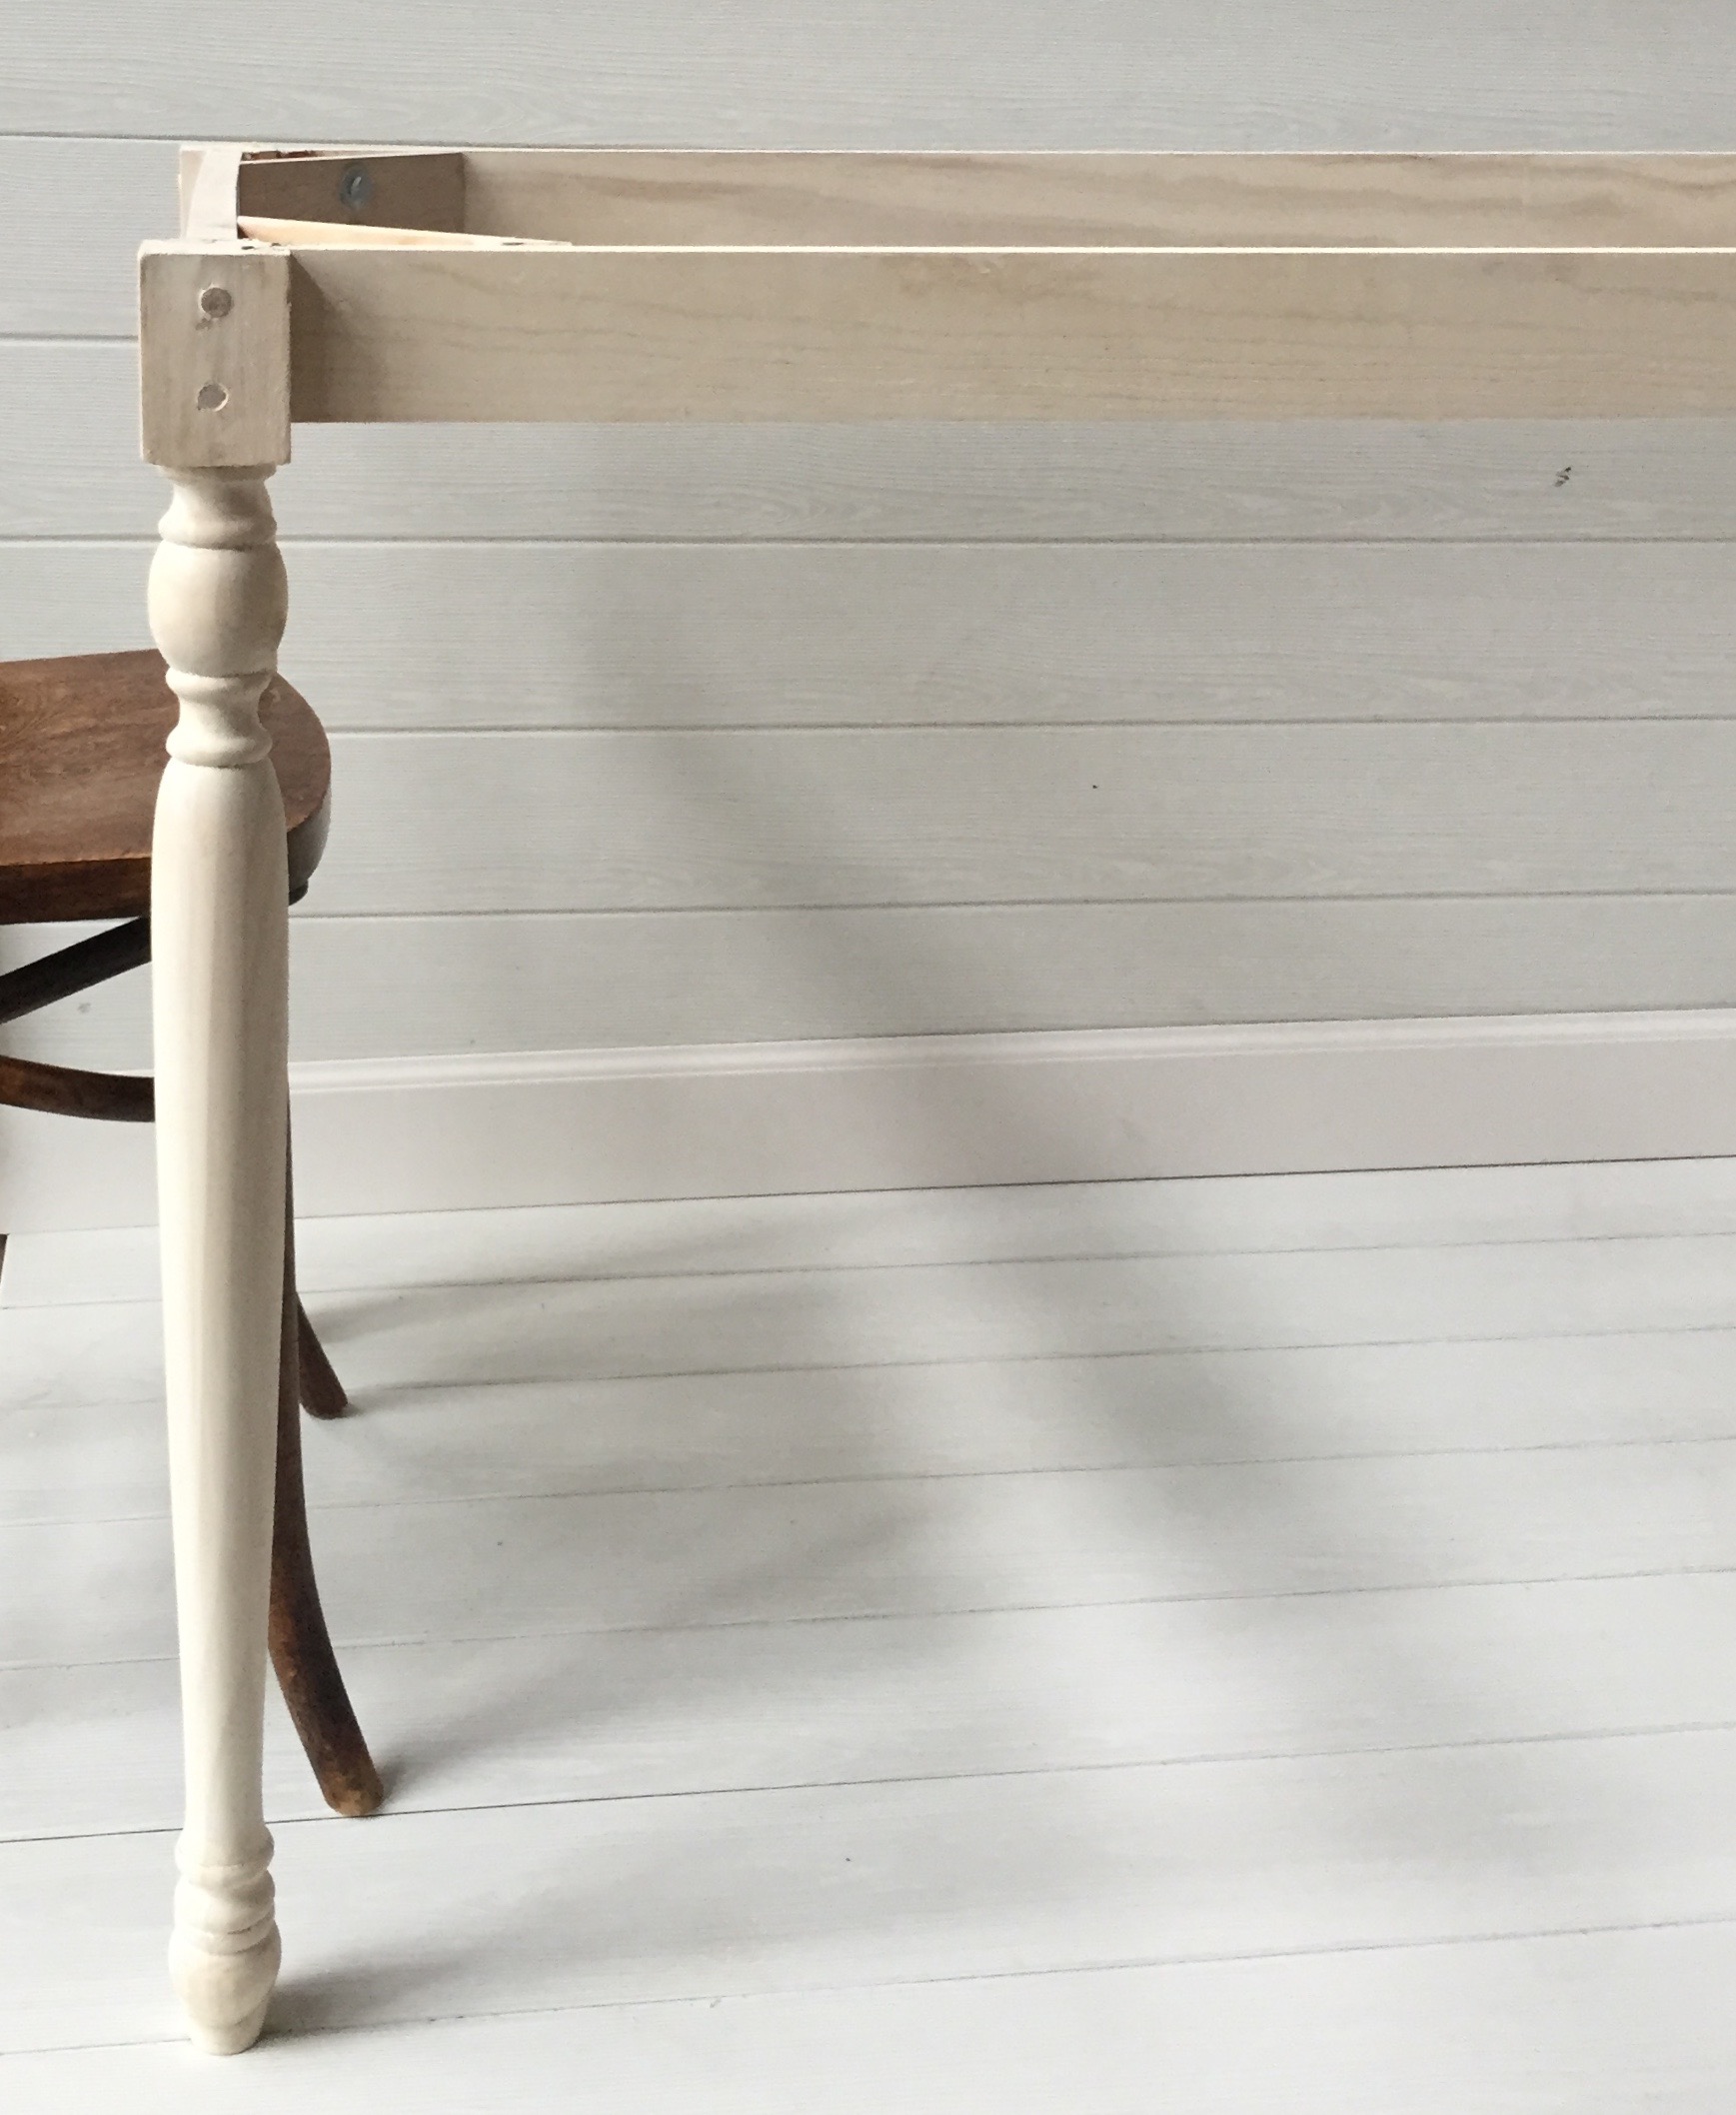
FOURTH: attach the 7" mitered corner braces to each corner with the 3.5" hex bolt and washer. there are threaded female ends already in the legs, so make sure you line up your bolt before drilling the hole in the corner brace. tighten the bolts. (feel free to white wash with the limewash or leave your pine unfinished)
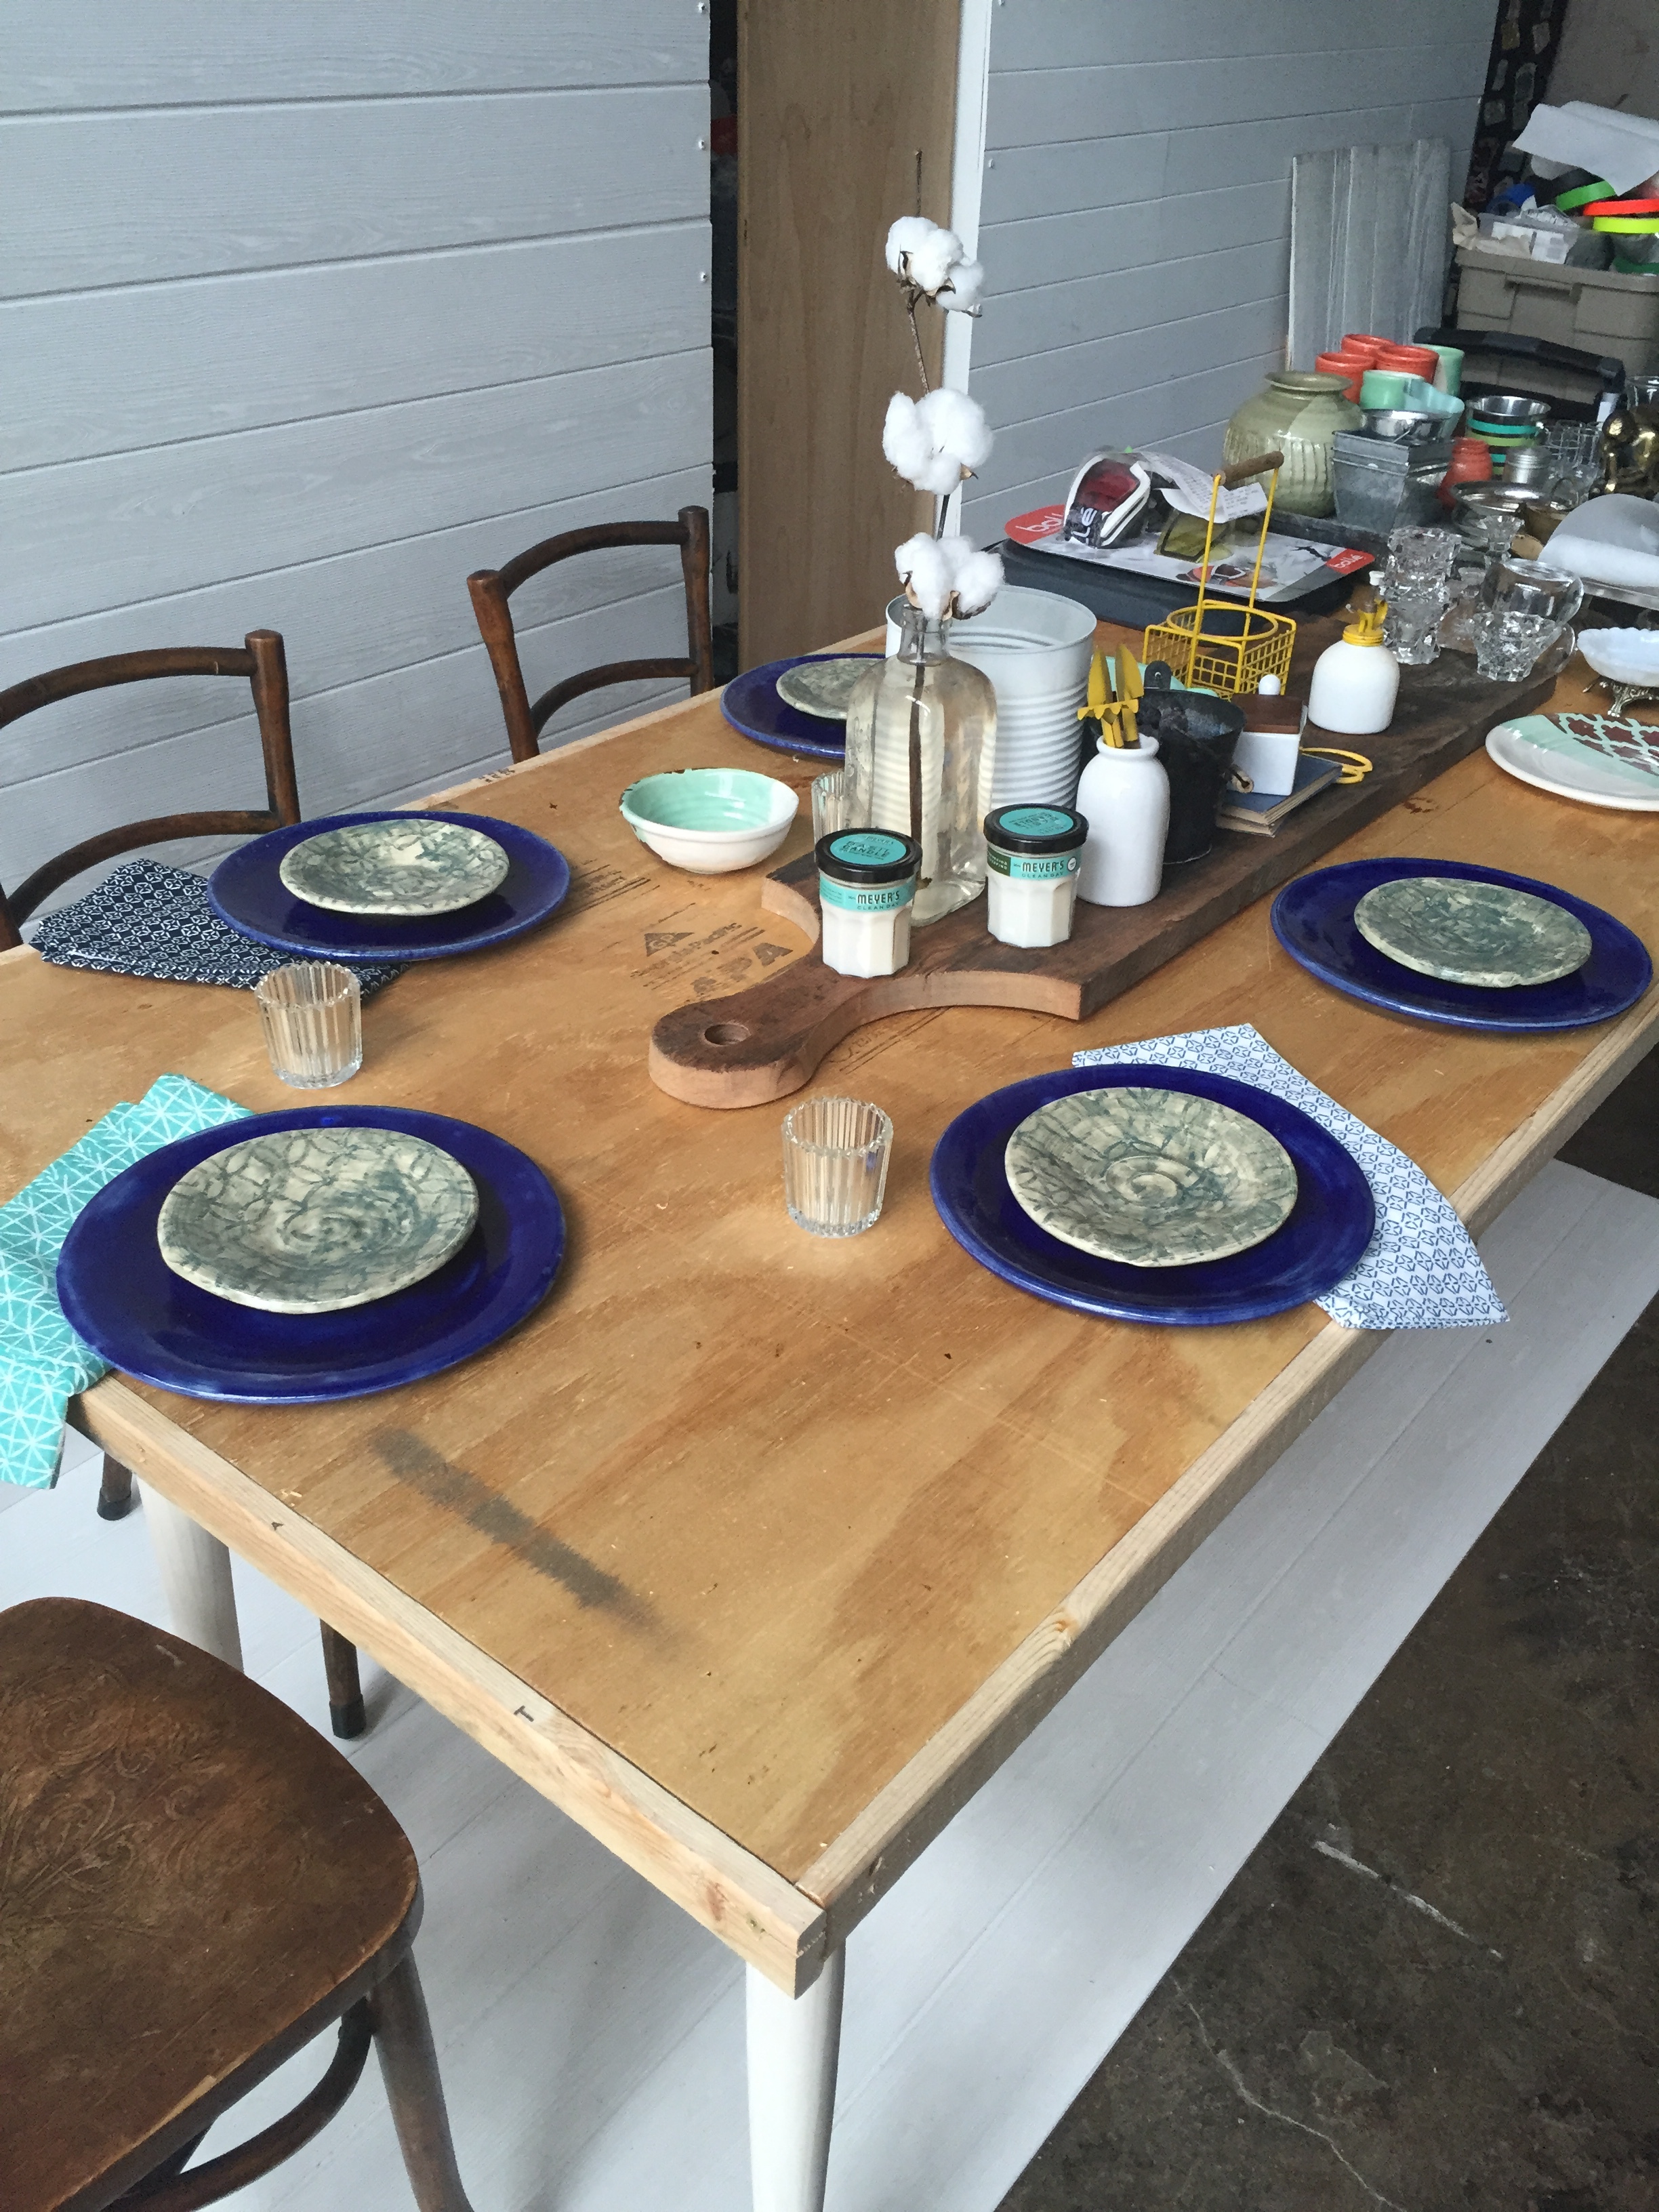
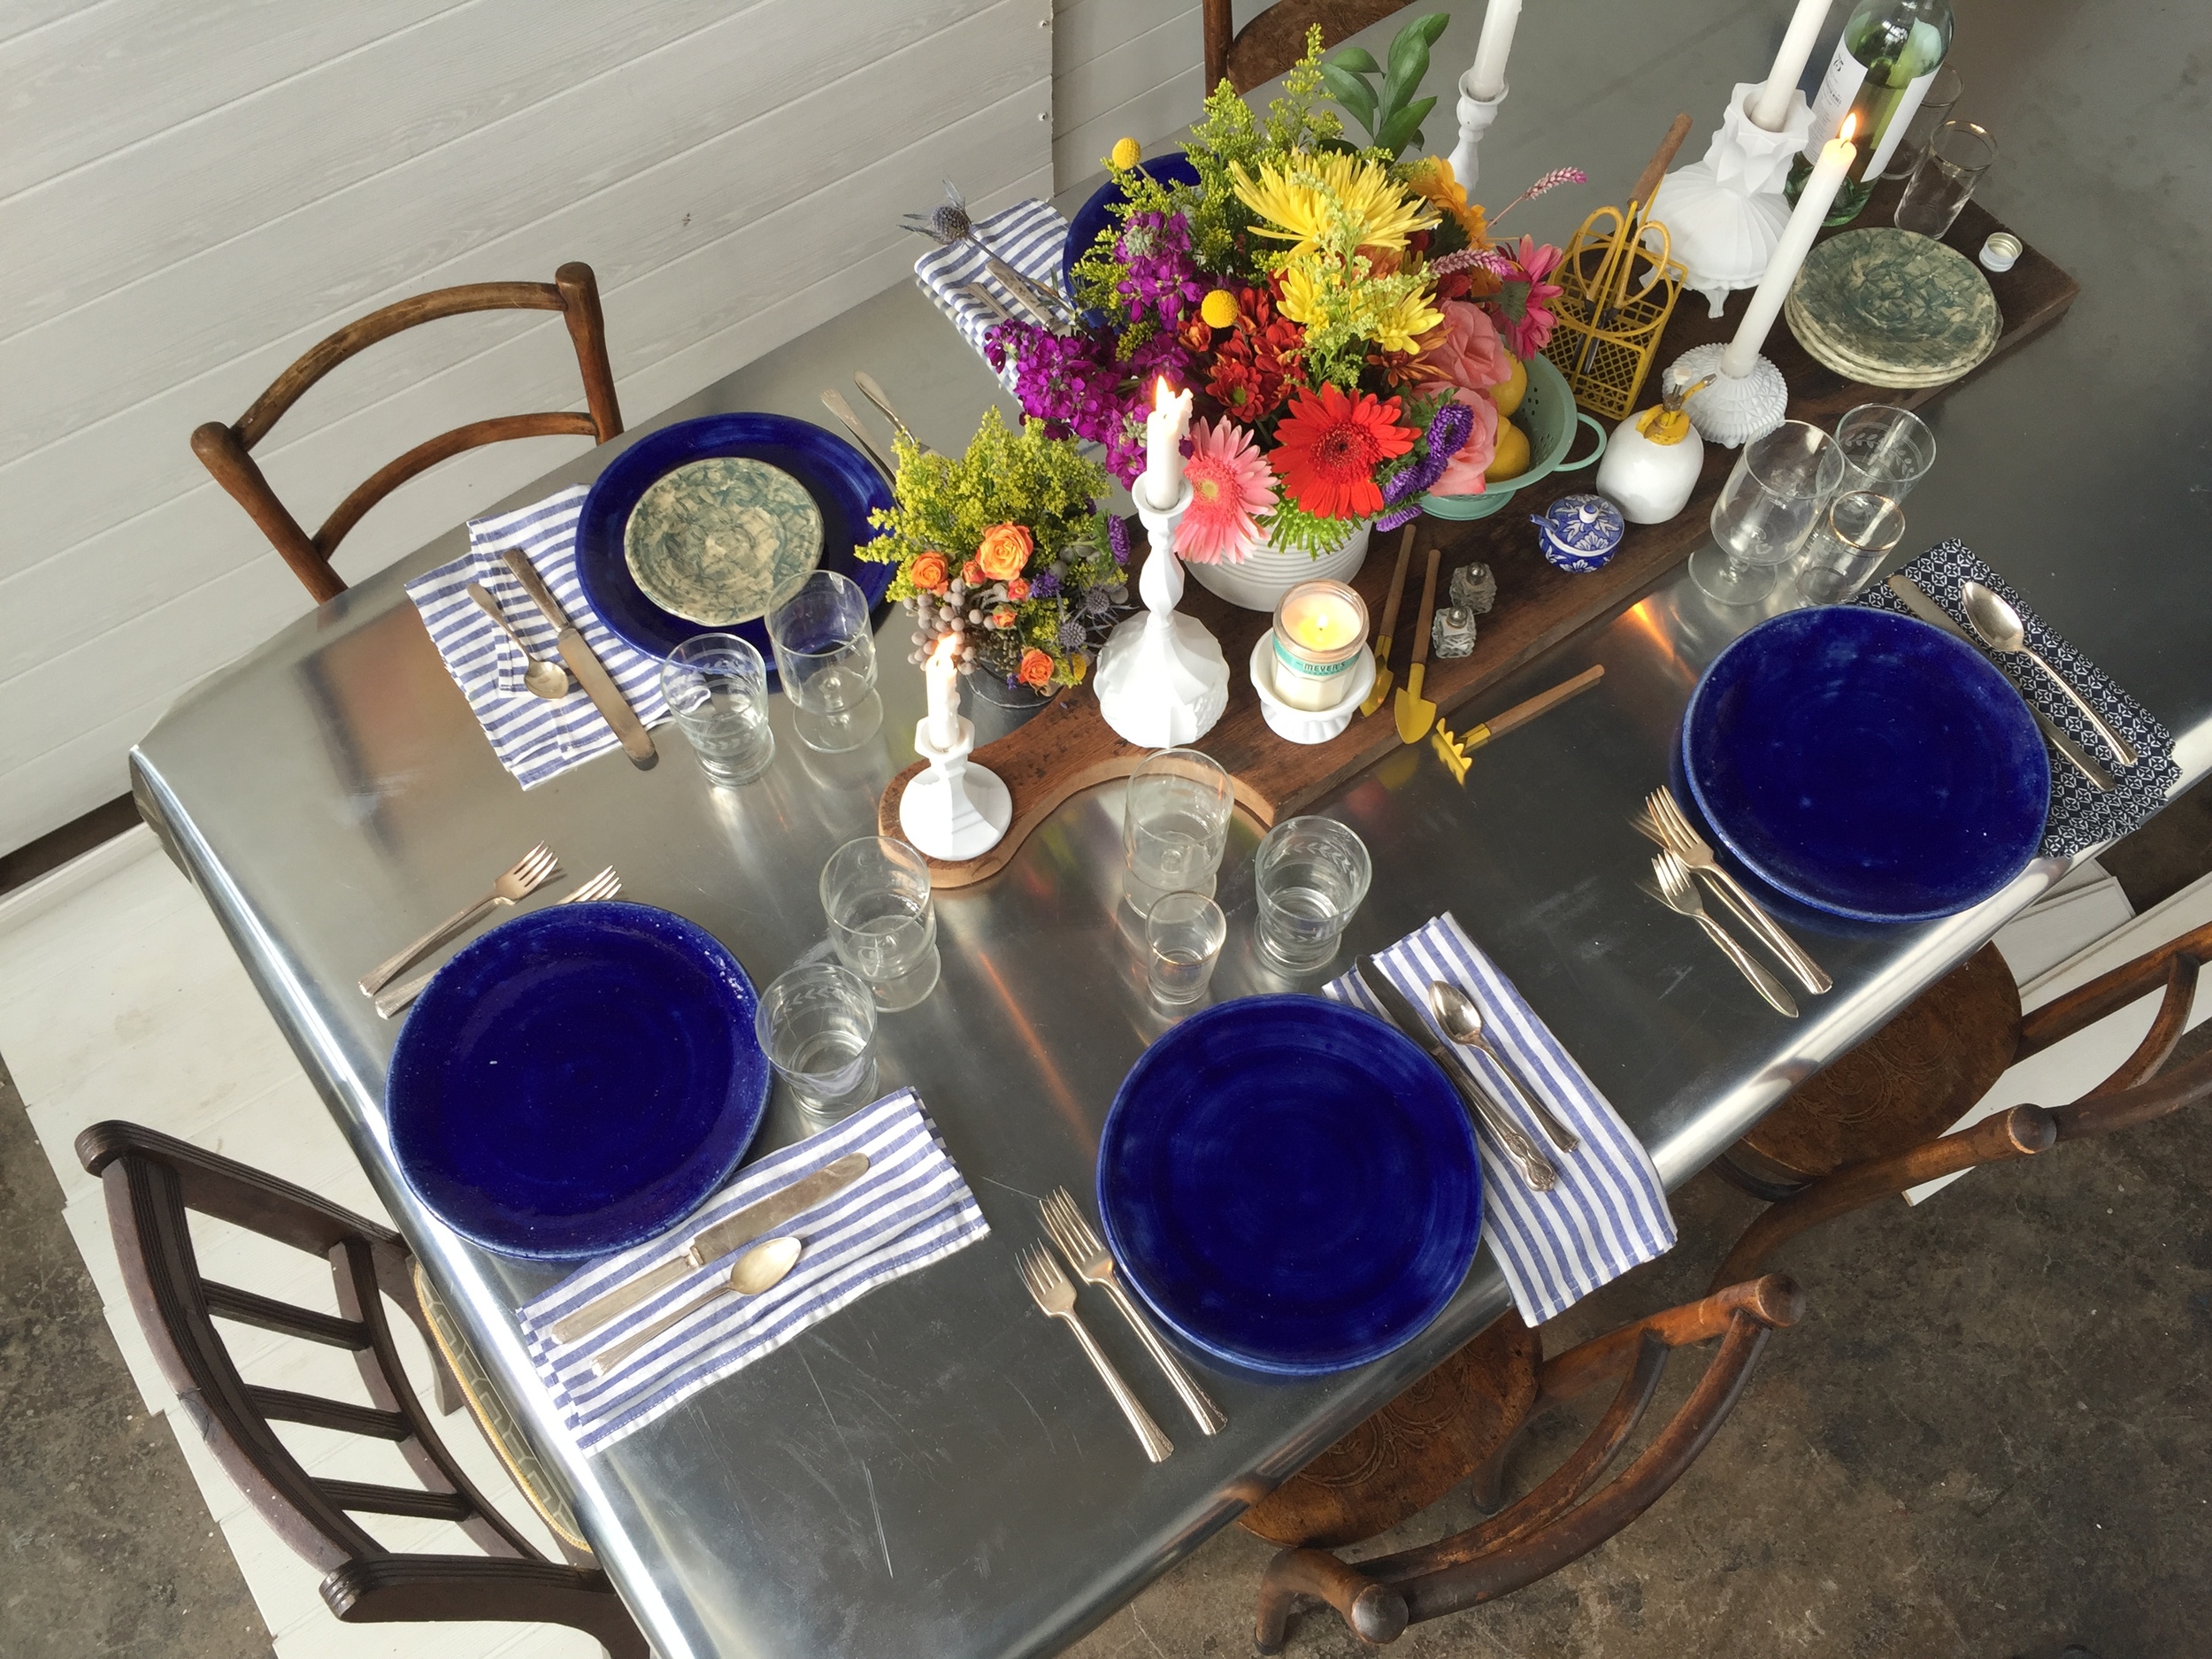
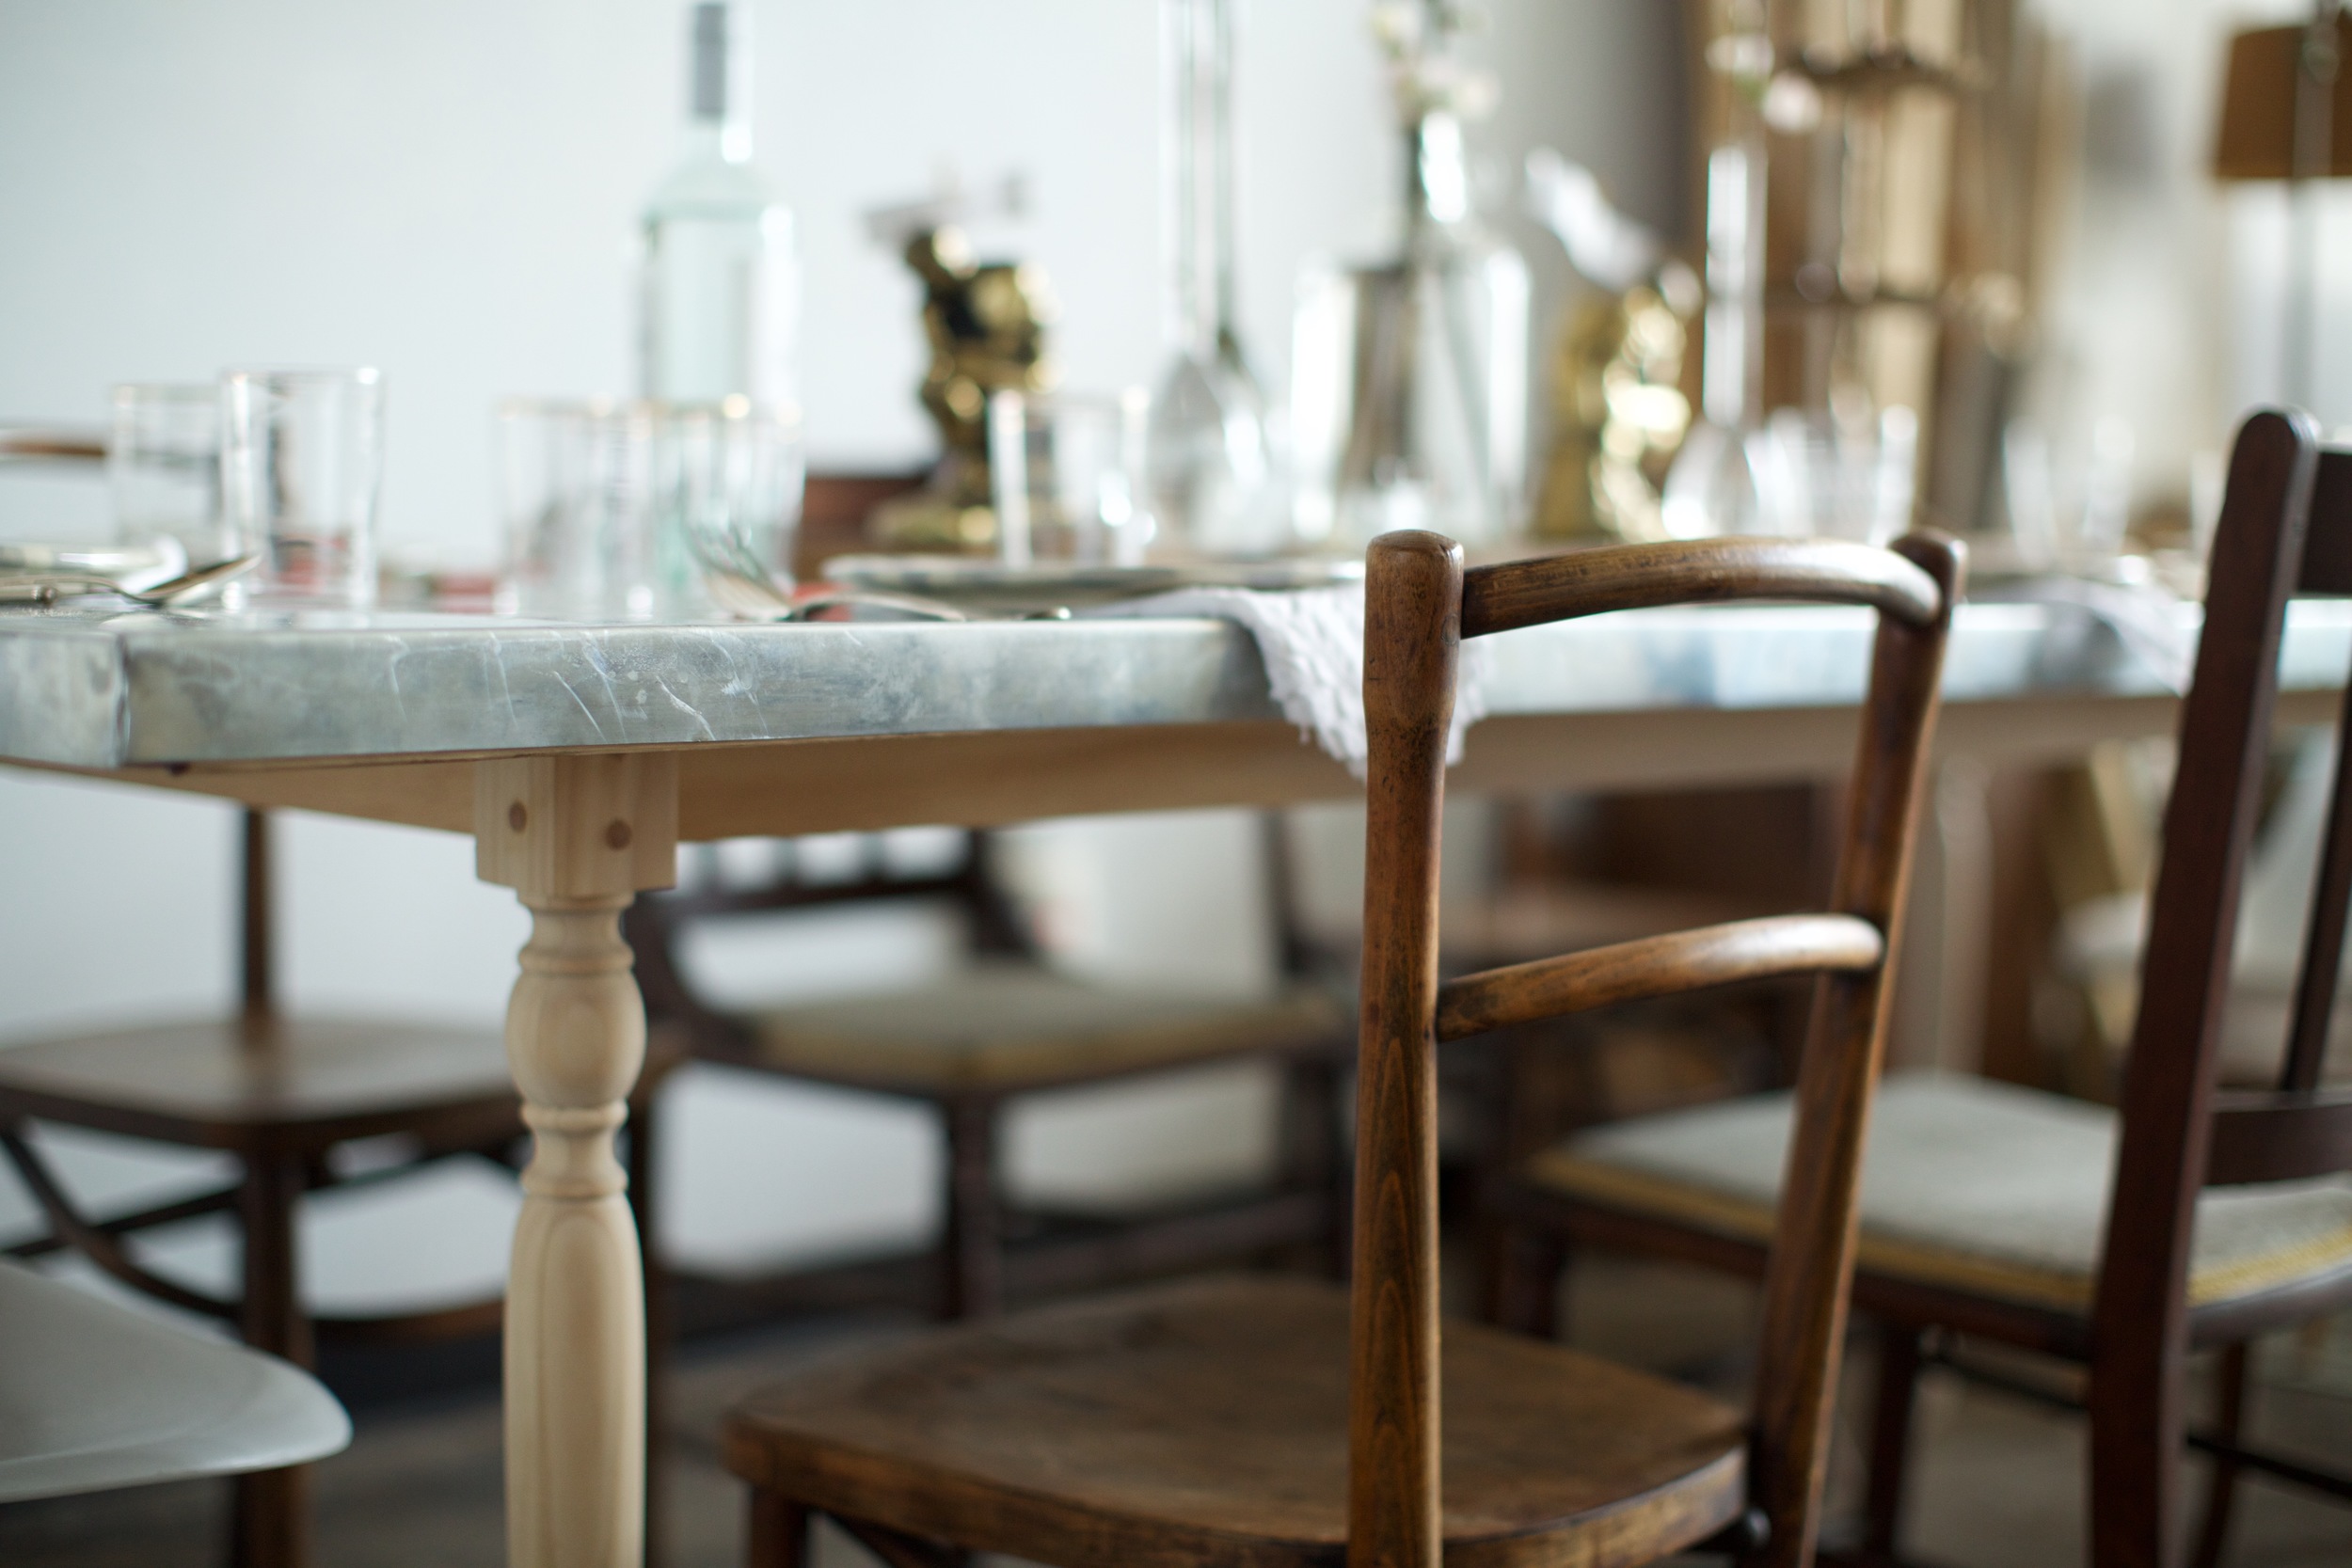
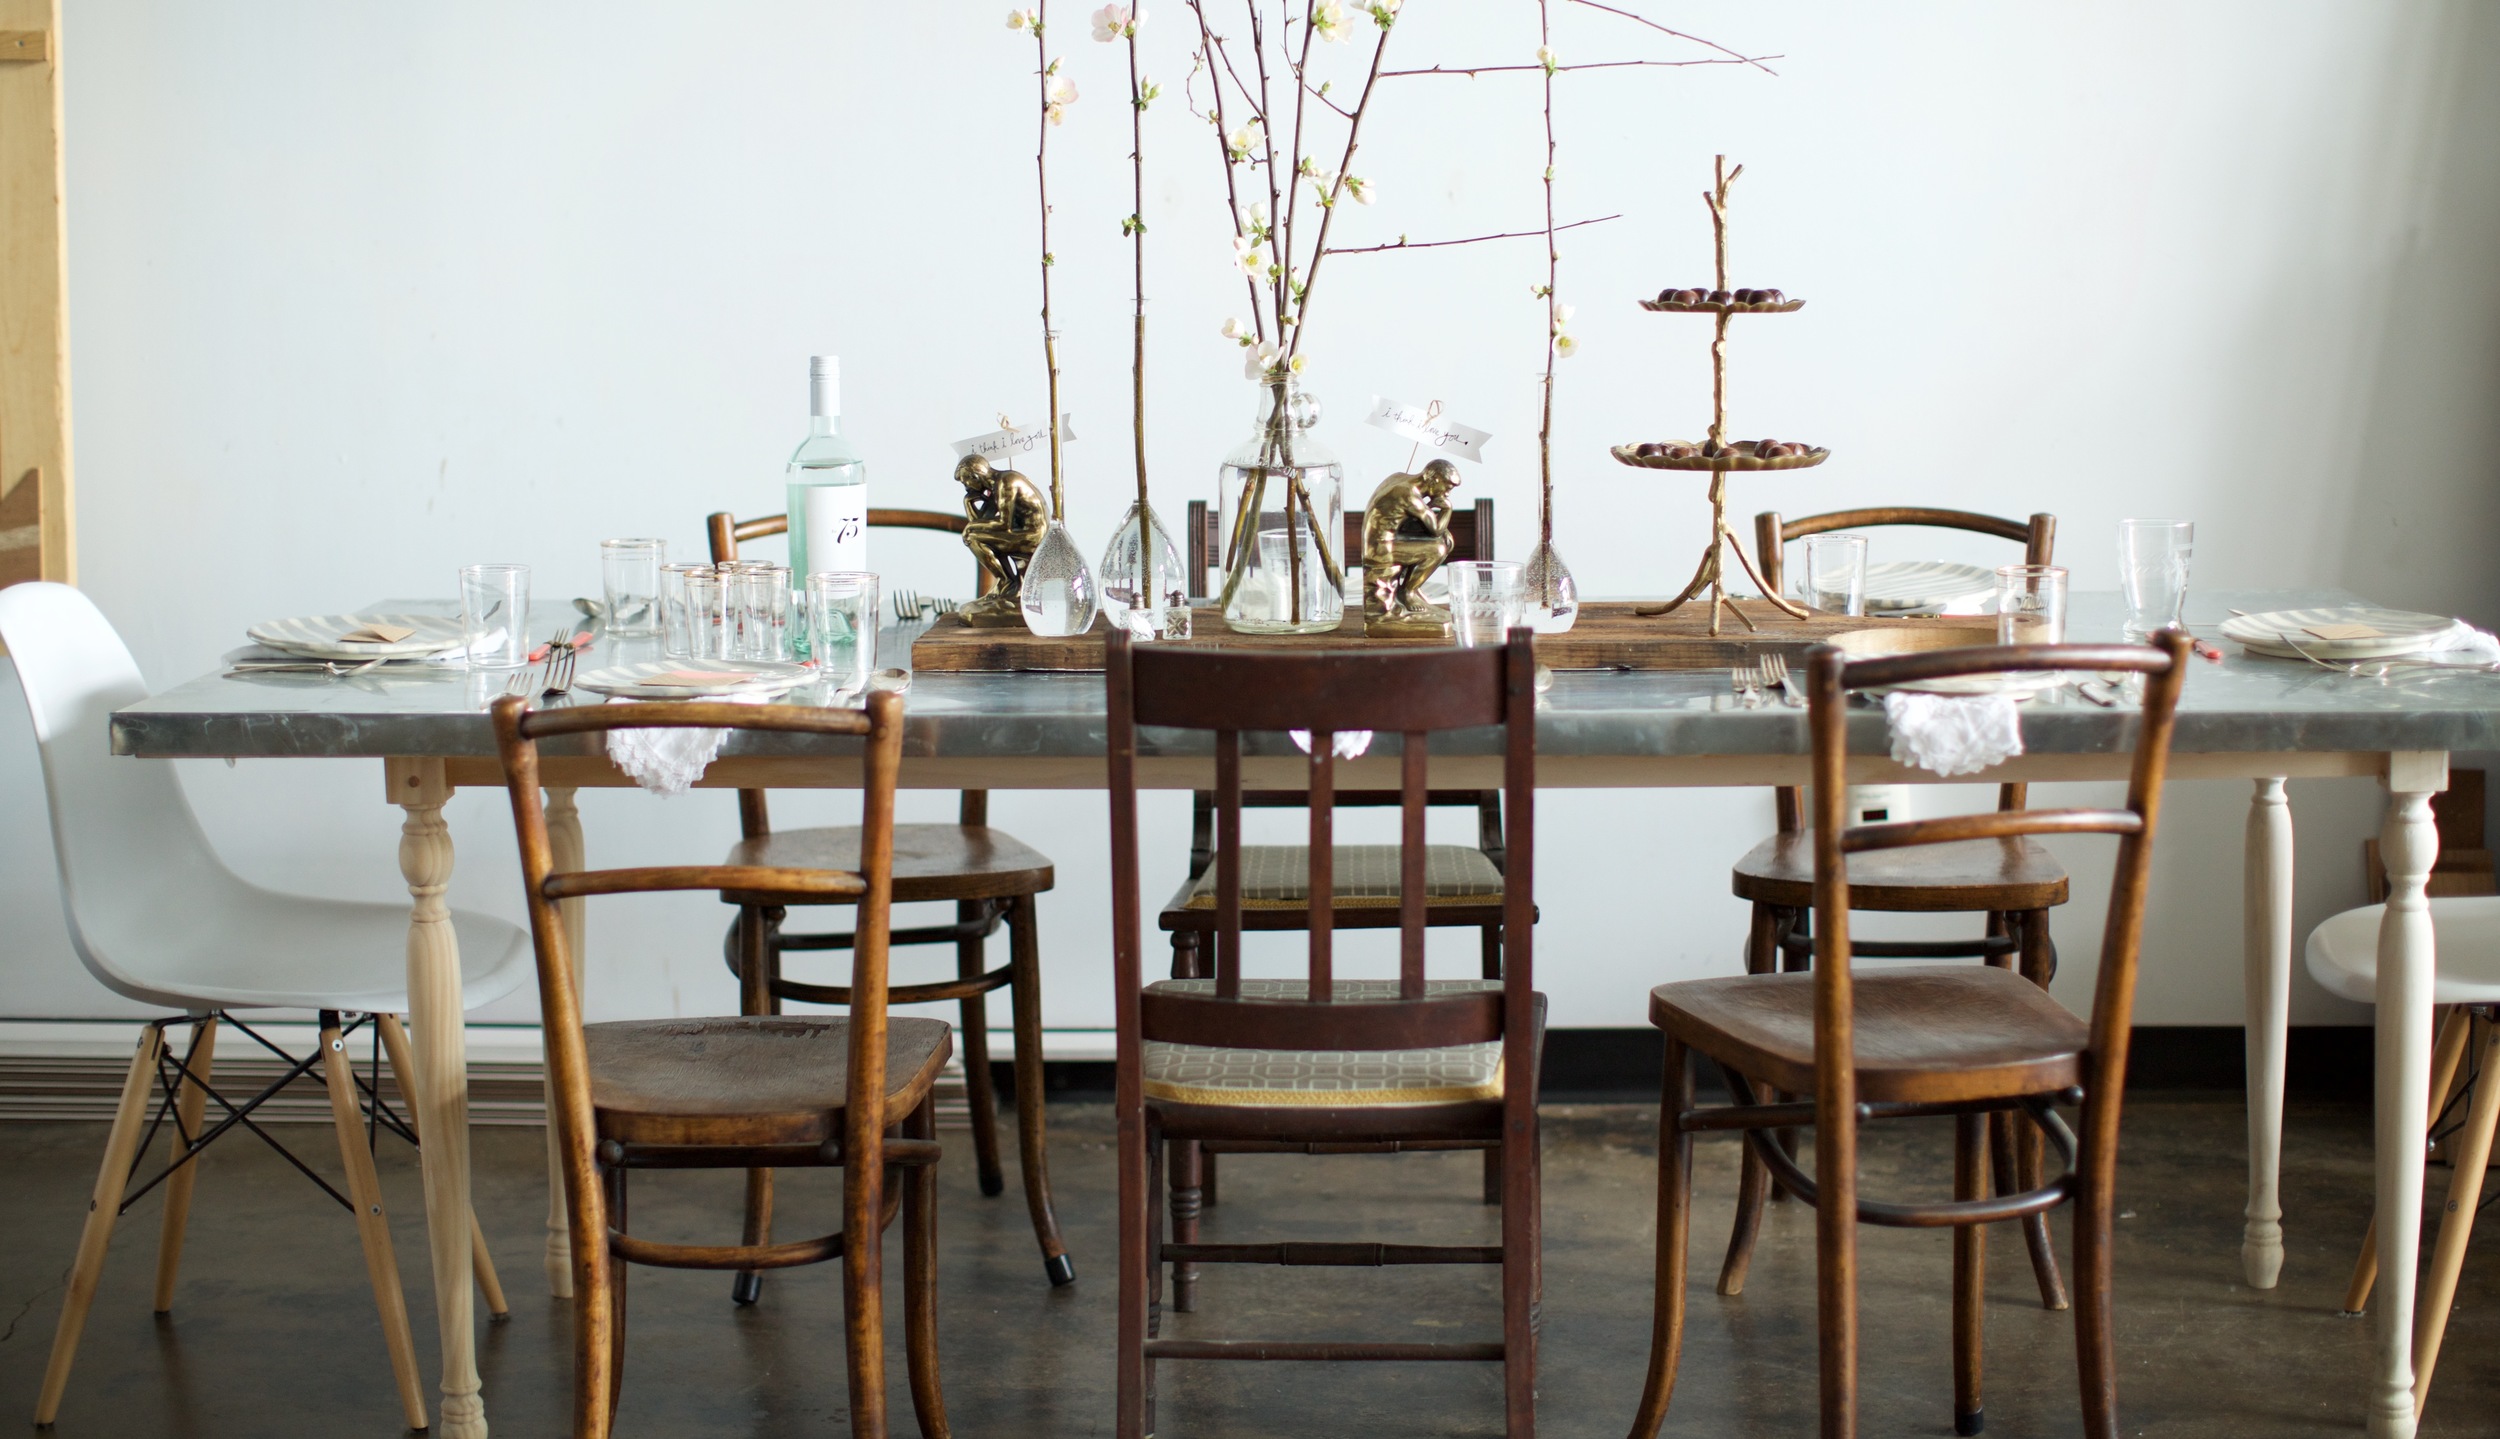
FIFTH: the table top is made of 3/4" plywood, that i had the guys in lumber cut down for me in the store. mine is approx 36" x 87", and then i framed out the edges of the plywood with 1-by's that i attached with the wood screws. Rotometals.com delivered a sheet of zinc and i took it to my local tin shop where they broke the edges of the table to wrap around the plywood base. (i like to have the option of switching out surfaces on my table, so i let it rest on top & its weighty enough to where it works)
for now, i'm letting time naturally age the surface, but you can visit rotometals.com for a list of finishing effects that will work well with your space.