
pendant lamp how to
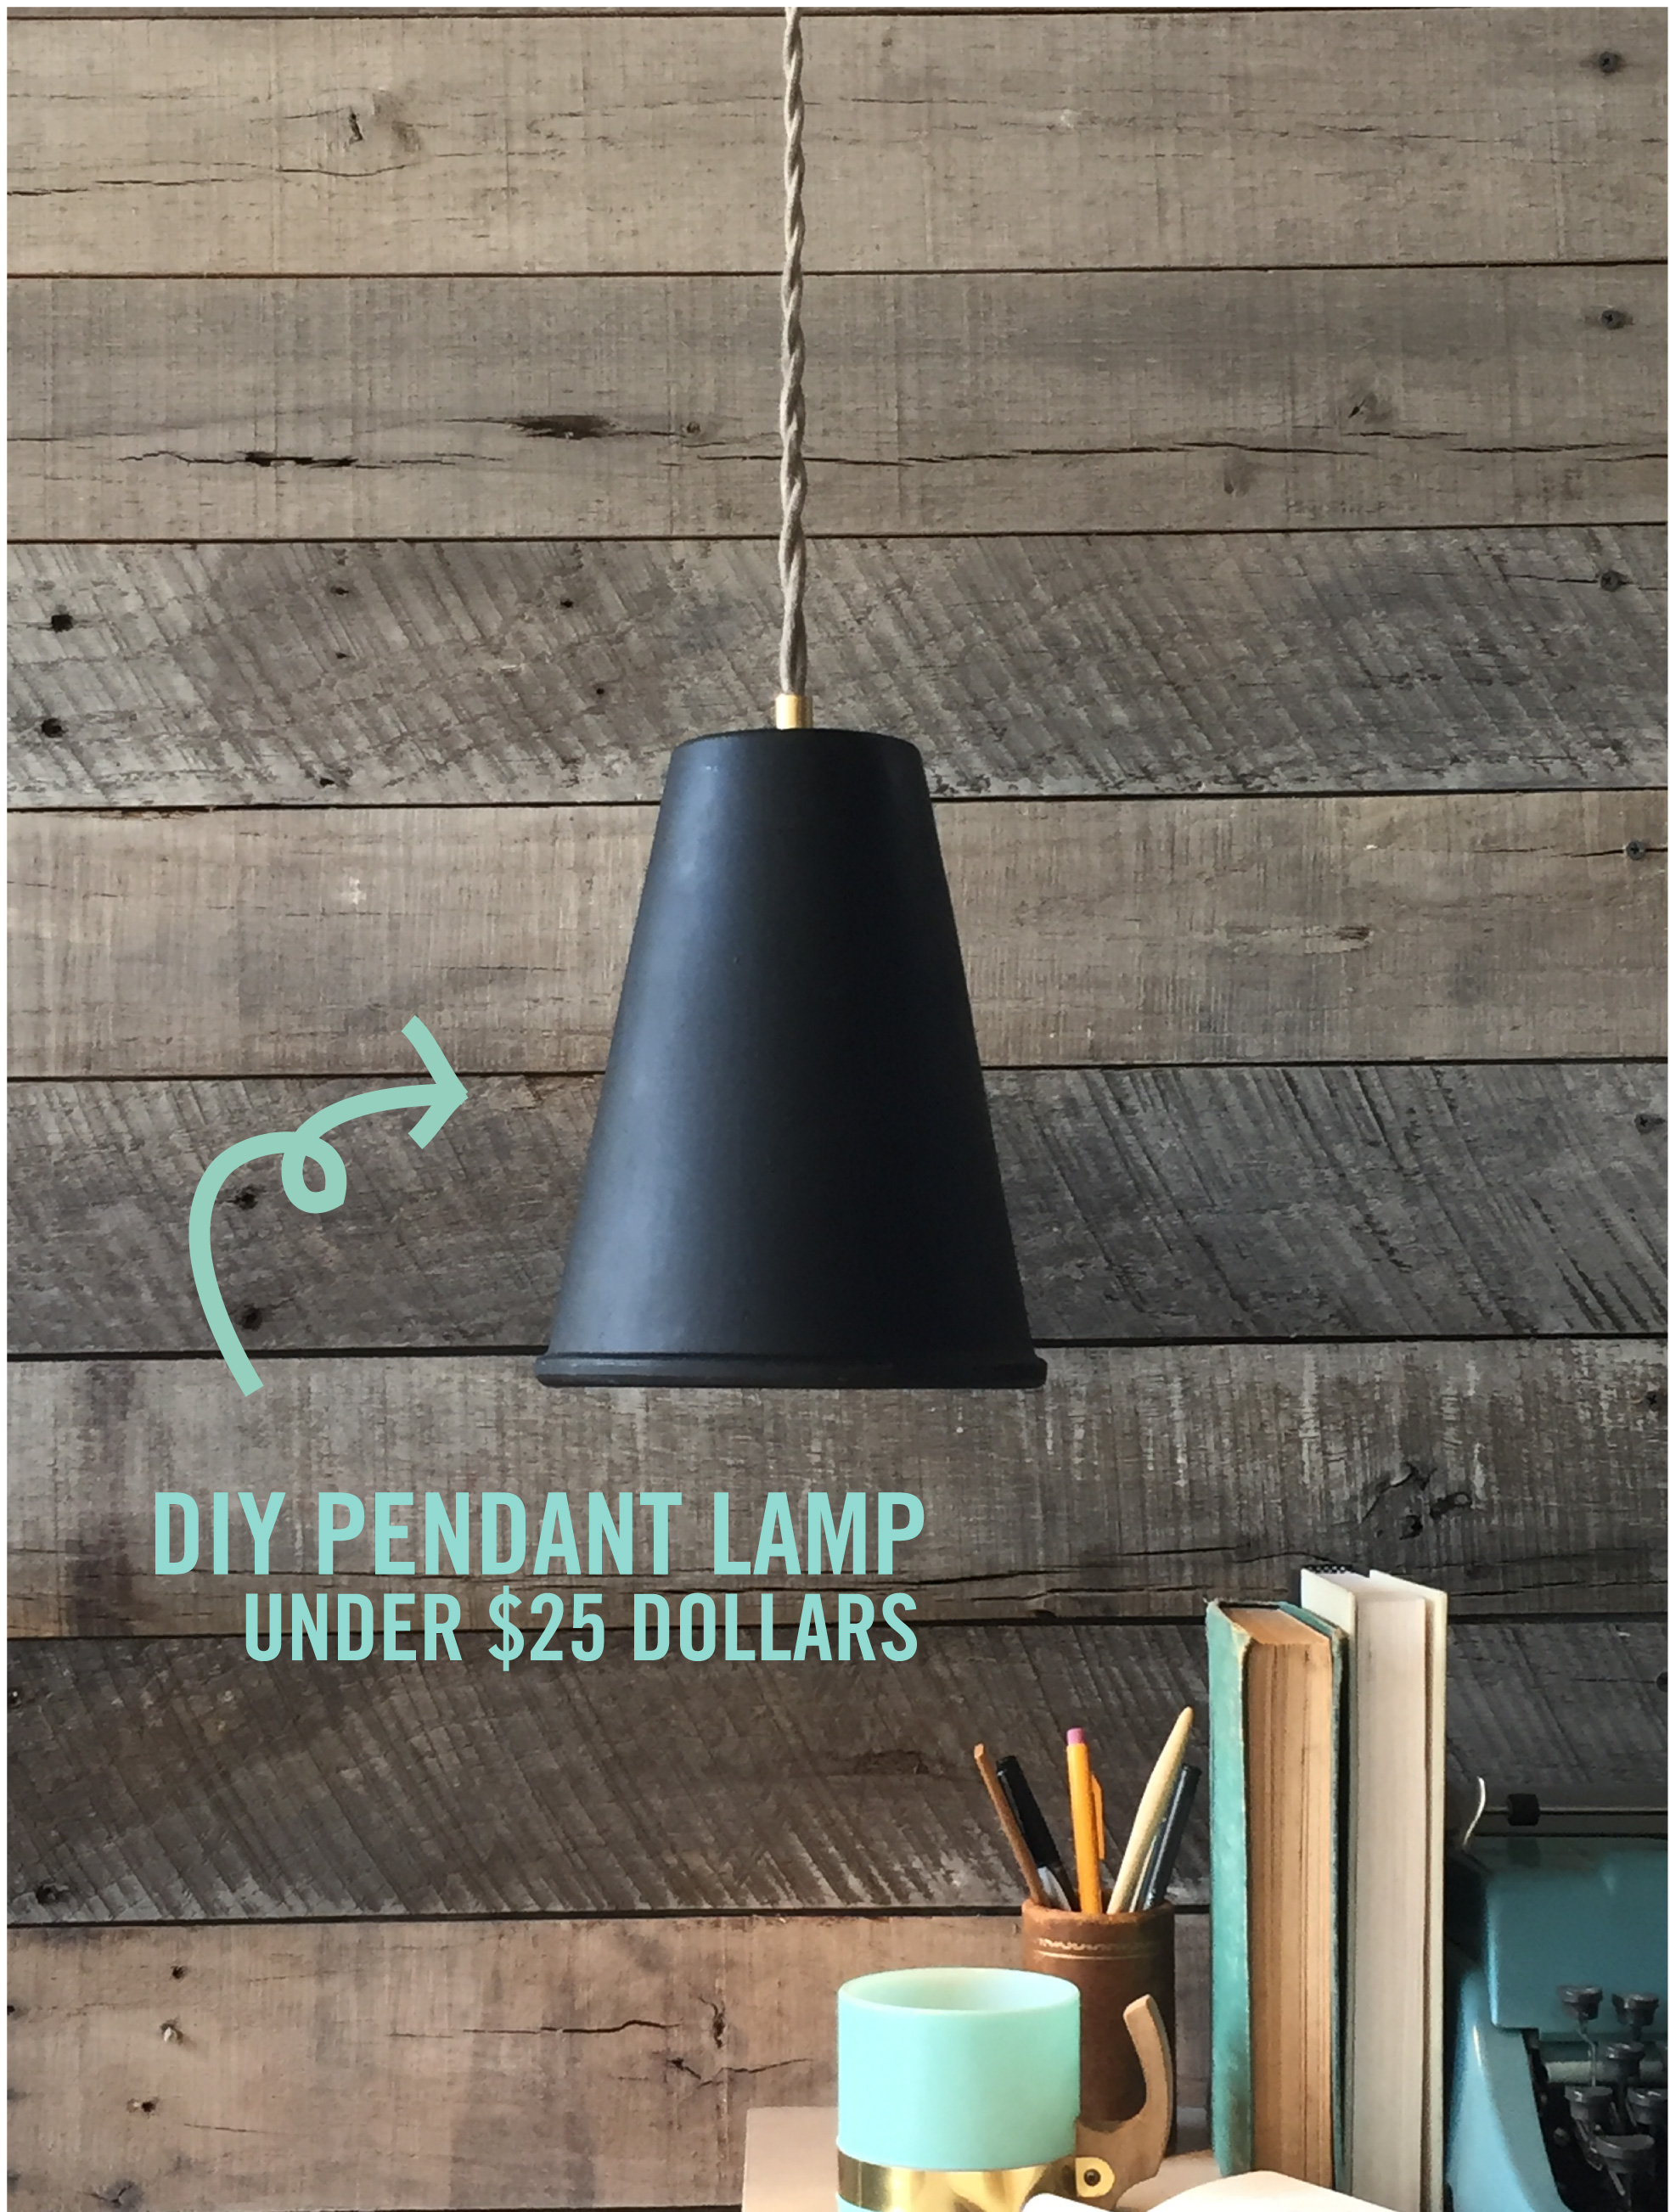
gosh, pendant lamps can be pricey, but with the right supplies + a little direction, you can keep those benjamin$s in the bank. i selected this pot for the shade because it was collecting dust, but that's where you can add your personal touch... shop your house or the local flea market for shapes that could work.
(not pictured : this shade is an upcycled terra cotta pot that i spray painted matte black)

the specialty lamp parts were purchased at grandbrass.com
STEP ONE: Attach the hex nuts to the threaded pipe nipple sandwiching the fender washer 25% from the top of the threaded pipe. (we are working with 1/8” standard lamp parts)

STEP TWO : Prep the cotton twisted cloth //Euro wire by pushing back the cloth to reveal two cords. Cut the excess cloth away. Using the wire cutter/stripper on the needle nose plyers, score and remove about 1 inch of the rubber coating exposing the copper wires. In most cases the black wire carries the current, the white wire is neutral. You’ll notice the individual wires are made up of many thin copper wires, twist them tightly together and then shape them into “U” shapes so you can attach each of the two wires to the socket.

STEP THREE: Using the mini phillips head screw driver, remove the long screw inside the socket to release the cap. You’ll see a couple of screws inside, attach the “U” shaped black cord to the copper screw and the white “ U” shaped cord to the silver screw and tighten each screw. Reconnect the porcelain cap once you’ve attached the wires & tighten the long screw. ** These directions are for making a pendant that will be hard wired, you can always attach a plug to plug into the wall using the manufacturers directions on the package of the plug**


STEP FOUR: Thread the end of the twisted Euro wire into the threaded pipe with washer & hex screw and screw into the top of the socket. The other end of the threaded assembly will poke through the drainage hole on the shade.

STEP FIVE: Slip on the 2” brass check ring. Using the mini flat-head screw driver, loosen the nylon set screw on the strain reliever & then slip it onto the twisted euro wire and attach it to the threaded pipe assembly. Tighten the nylon set screw and viola! Insert a pretty light bulb, hang, and enjoy!
